Snickers Protein Bar Recipe: Easy & Healthy
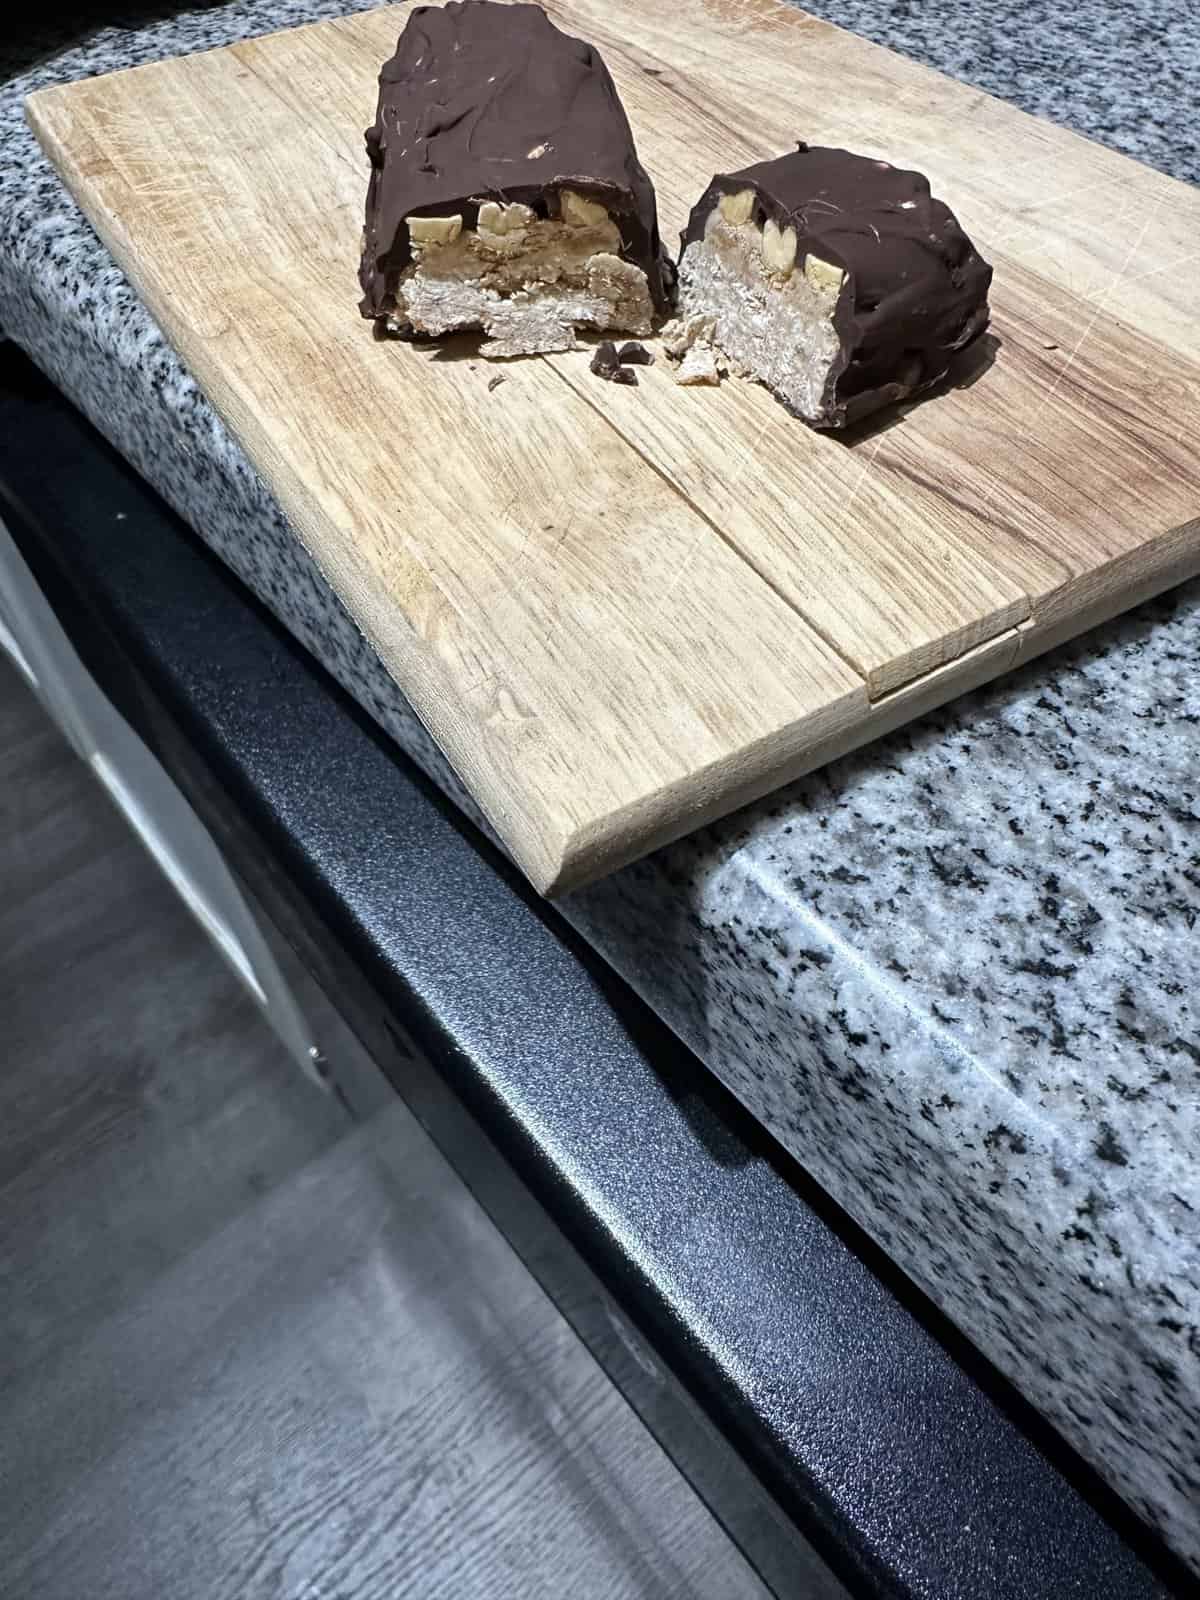
Imagine biting into a thick, chewy layer of nougat, followed by a gooey, salted caramel center packed with crunchy roasted peanuts, all enveloped in a rich, velvety dark chocolate shell. It sounds like a total indulgence, yet this version of a classic candy bar is designed to fuel your body and satisfy your cravings simultaneously. This snickers protein bar recipe is a game-changer for anyone looking to balance fitness goals with a deep-seated love for chocolate and peanut butter. Unlike store-bought bars that are often dry or filled with artificial preservatives, these homemade treats are fresh, decadent, and bursting with whole-food ingredients that provide sustained energy. Whether you are a dedicated athlete looking for a post-workout reward or a busy professional needing a satisfying snack to get through the afternoon slump, you are going to fall in love with this recipe.
- ⏱️ Prep Time: 20 minutes
- 🍳 Cook Time: 5 minutes
- 👥 Servings: 8 bars
- 📊 Difficulty: Easy
Ingredients for Your Snickers Protein Bar Recipe
To achieve that authentic candy bar texture while keeping the nutritional profile high, we have divided the ingredients into three distinct layers. Each component plays a vital role in creating the perfect bite.
The High-Protein Nougat Base
- 1 1/2 cups oat flour (finely ground rolled oats)
- 1/2 cup vanilla or unflavored whey or plant-based protein powder
- 1/4 cup creamy natural peanut butter (the drippy kind works best)
- 1/4 cup unsweetened almond milk or oat milk
- 1 tablespoon maple syrup or honey for a touch of natural sweetness
- 1/2 teaspoon pure vanilla extract
The Gooey Caramel and Peanut Layer
- 1/2 cup soft Medjool dates, pitted and soaked in warm water for 10 minutes
- 2 tablespoons creamy peanut butter
- 1 tablespoon almond milk (to adjust consistency)
- 1/4 teaspoon sea salt (to enhance the caramel flavor)
- 1/2 cup roasted salted peanuts, roughly chopped or kept whole
The Decadent Chocolate Coating
- 1 cup dark chocolate chips or a chopped dark chocolate bar (at least 70% cocoa)
- 1 tablespoon coconut oil (this helps the chocolate melt smoothly and gives it a nice snap)
- Optional: Flaky sea salt for topping
Step-By-Step Instructions
Setting up your workspace before you begin will make this process incredibly smooth. While there is no actual baking involved, the 5-minute cooking time refers to the brief moment you will spend melting your chocolate and preparing your caramel layer.
Step 1: Prepare Your Pan and Workspace
Begin by lining a standard 8×4 inch loaf pan with parchment paper. Ensure that the paper hangs over the long sides of the pan; these “wings” will act as handles later on, allowing you to lift the entire block of bars out effortlessly once they have set. If you don’t have parchment paper, you can use wax paper, but avoid aluminum foil as the sticky layers might cling to it.
Step 2: Mix the Nougat Base
In a large mixing bowl, combine your oat flour and protein powder. Whisk them together to ensure there are no large clumps of protein. Add in the peanut butter, maple syrup, vanilla extract, and three tablespoons of the milk. Use a sturdy spatula to stir the mixture until a thick, dough-like consistency forms. If the mixture feels too crumbly and won’t hold together when pressed between your fingers, add the remaining tablespoon of milk one teaspoon at a time. You want a dough that is pliable but not sticky.
Step 3: Press the Base into the Pan
Transfer the nougat dough into your prepared loaf pan. Using your hands or the back of a flat spoon, press the mixture firmly and evenly into the bottom of the pan. It is important to pack it down tightly to ensure the bars don’t fall apart when you slice them later. For a perfectly level surface, you can use the bottom of a flat glass to smooth out the top of the base layer.
Step 4: Create the Healthier “Caramel”
Drain the soaked dates and place them into a high-speed blender or a small food processor. Add the two tablespoons of peanut butter, the sea salt, and a splash of milk. Blend on high until the mixture is completely smooth and resembles a thick, golden caramel. This may take a minute or two of pulsing and scraping down the sides. If your blender is struggling, add an extra teaspoon of milk to help the blades catch the fruit.
Step 5: Layer the Caramel and Peanuts
Spread the date caramel evenly over the pressed nougat base. Be gentle so you don’t disturb the base layer. Once the caramel is spread, sprinkle the roasted peanuts over the top. Use your palms to lightly press the peanuts into the caramel; this ensures they stay embedded in the bar rather than falling off once the chocolate is added.
Step 6: The Initial Freeze
Place the pan in the freezer for about 30 to 45 minutes. This step is crucial because it firms up the caramel and peanuts, making it much easier to coat the bars in chocolate without everything sliding around. You want the center to be cold and solid to the touch.
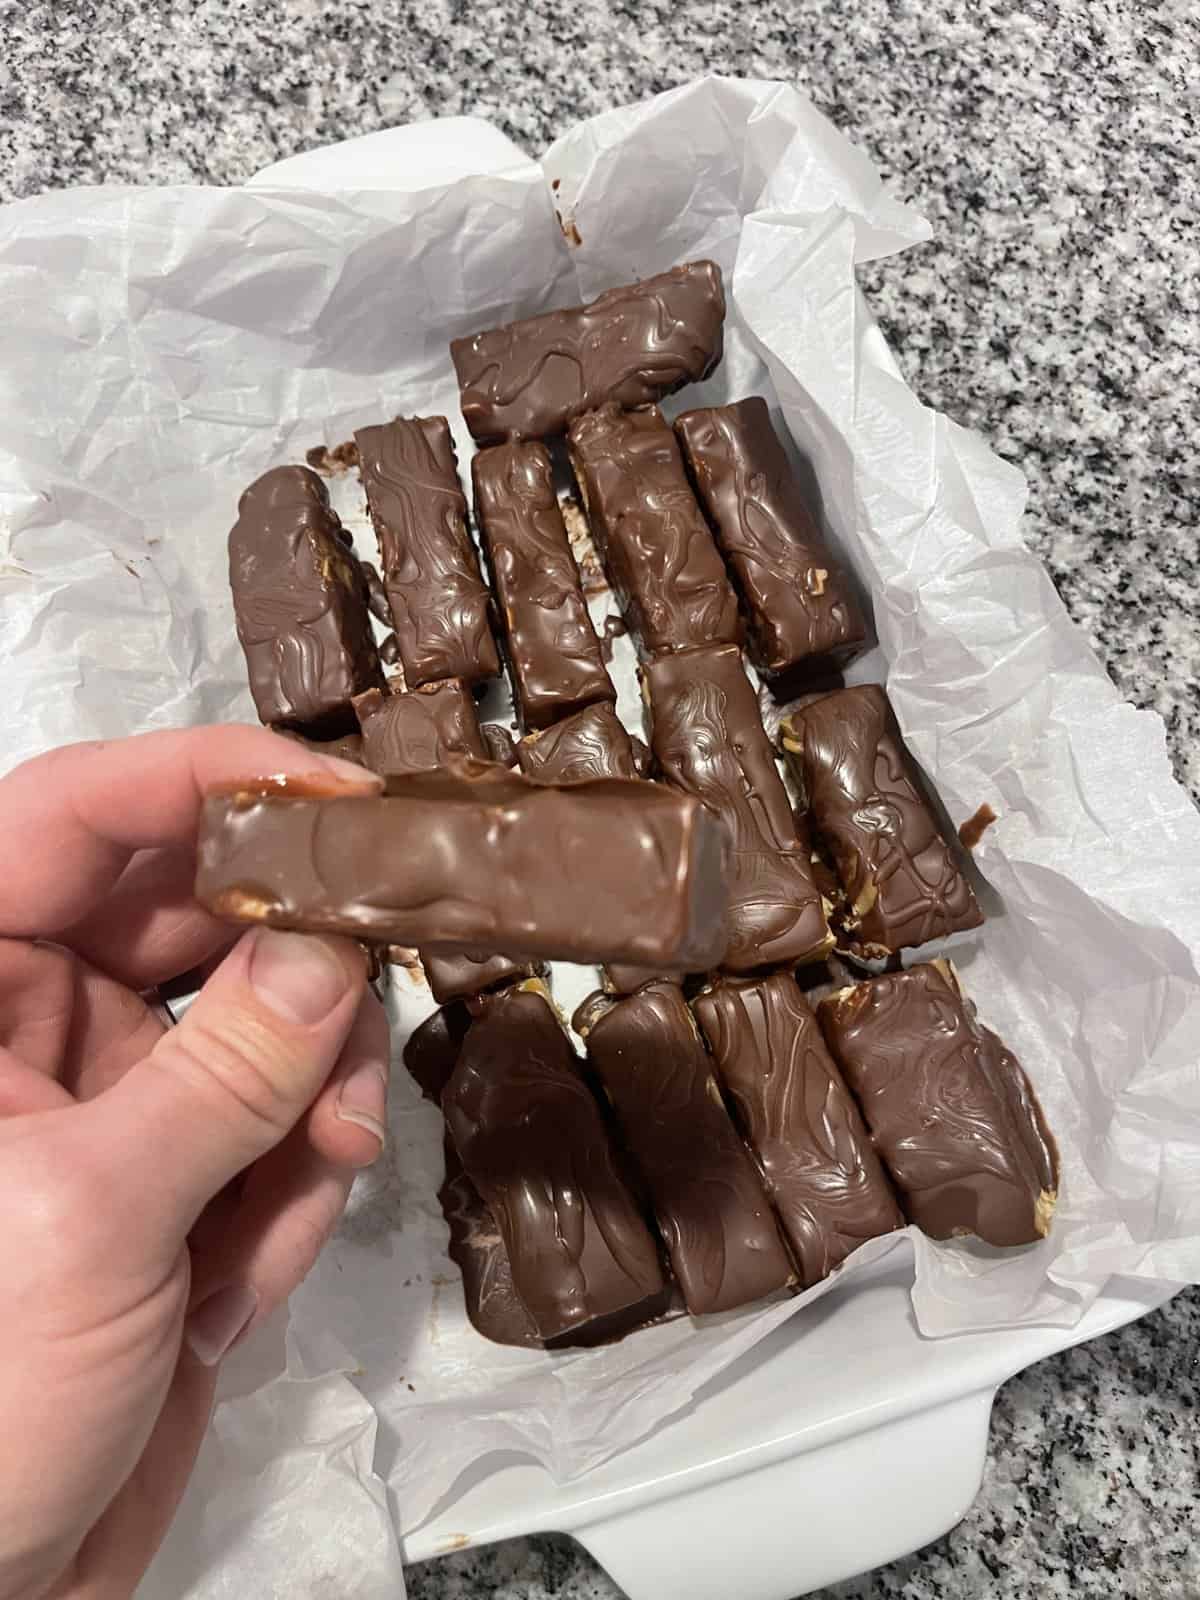
Step 7: Slicing the Bars
Once the center has firmed up, use the parchment paper handles to lift the block out of the pan and place it on a cutting board. Using a sharp knife, slice the block into eight even bars. If the caramel is too sticky, dip your knife in hot water and wipe it dry between each cut for a cleaner finish.
Step 8: Melt the Chocolate Coating
In a small microwave-safe bowl, combine the dark chocolate chips and the coconut oil. Microwave in 30-second intervals, stirring thoroughly in between, until the chocolate is completely smooth and glossy. Alternatively, you can use a double boiler on the stove for more control. The cooking time here should only take about 2 to 3 minutes total.
Step 9: Coating the Bars
Line a baking sheet or large plate with a fresh piece of parchment paper. One by one, dip each protein bar into the melted chocolate. You can use two forks to submerge the bar, flip it, and then lift it out, allowing the excess chocolate to drip back into the bowl. Place the coated bar onto the parchment-lined sheet. Repeat until all eight bars are beautifully enrobed in chocolate.
Step 10: Final Setting and Garnishing
While the chocolate is still wet, sprinkle a tiny pinch of flaky sea salt on top of each bar if desired. Place the bars back in the refrigerator or freezer for another 15 minutes to allow the chocolate shell to harden completely. Once the chocolate is set and has a matte finish, your bars are ready to be enjoyed!
To ensure the best texture, always use a high-quality protein powder that you actually enjoy the taste of, as it provides the primary flavor for the nougat. If your dates are not very soft, soak them in boiling water for at least 15 minutes to ensure your caramel is silky smooth. For the cleanest chocolate coating, make sure the bars are very cold before dipping; the cold surface will help the chocolate set faster and prevent the caramel from melting into the coating.
Variations & Substitutions
This snickers protein bar recipe is highly versatile and can be adapted to suit various dietary needs or flavor preferences.
Vegan Modification: To make this recipe completely vegan, ensure you use a plant-based protein powder (pea, rice, or soy) and vegan-certified dark chocolate chips. Swap the honey for maple syrup or agave nectar in the base.
Nut-Free Option: If you have a peanut allergy, you can substitute the peanut butter with sunflower seed butter or almond butter. Replace the roasted peanuts with toasted sunflower seeds or soy nuts to maintain that essential crunch.
Gluten-Free: Oats are naturally gluten-free, but they are often processed in facilities that handle wheat. Ensure your oat flour is certified gluten-free if you have a high sensitivity or celiac disease.
Flavor Twists: For a “Dark Snickers” feel, use 85% cocoa chocolate and add a teaspoon of instant espresso powder to the chocolate coating. You can also swap peanuts for chopped almonds or pecans for a different nutty profile.
Storage & Make Ahead Instructions
Because these bars contain fresh ingredients and no preservatives, proper storage is key to maintaining their texture. You can store these bars in an airtight container in the refrigerator for up to 10 days. They are best served slightly chilled, which keeps the chocolate shell crisp and the caramel layer chewy.
If you want to make a large batch for meal prep, these bars freeze beautifully. Wrap each bar individually in parchment paper and place them in a freezer-safe zip-top bag. They will stay fresh in the freezer for up to 3 months. When you are ready to eat one, simply let it thaw on the counter for 5 to 10 minutes, or enjoy it frozen for a firmer, “ice cream bar” like experience.
- Calories: 285 kcal
- Protein: 15g
- Total Fat: 14g
- Carbohydrates: 26g
- Fiber: 5g
- Sugar: 12g (mostly from dates)
Note: Nutritional values are estimates based on standard ingredients and may vary depending on the specific brands of protein powder and chocolate used.
Making your own snacks at home gives you total control over the ingredients, ensuring you get the highest quality nutrition without sacrificing the flavors you love. This snickers protein bar recipe proves that “healthy” and “delicious” don’t have to be mutually exclusive. Give this recipe a try this weekend, and you will never want to go back to processed, store-bought protein bars again. Happy snacking!
❓ Frequently Asked Questions
1
How long does Snickers protein bar last in fridge?
These bars stay fresh in an airtight container in the refrigerator for up to 10 days. For longer storage, you can keep them in the freezer for up to three months. Just make sure to separate layers with parchment paper to prevent them from sticking together during storage.
2
Can I make Snickers protein bar ahead of time?
Absolutely, these are perfect for meal prep because they require chilling time to set properly. Making them a day in advance allows the flavors to meld and the textures to firm up. They hold their shape well, making them an ideal grab-and-go snack for your busy week.
3
What can I substitute for peanut butter?
If you have an allergy or prefer a different flavor, almond butter or cashew butter works perfectly as a 1:1 replacement. For a nut-free version, sunflower seed butter is a great alternative, though it may slightly alter the traditional Snickers taste profile you expect from the recipe.
4
How do I know when Snickers protein bar is done?
Since this is a no-bake recipe, the bars are considered done once the chocolate coating has completely hardened and the center layers are firm to the touch. This usually takes about 30 to 60 minutes in the freezer or two hours in the refrigerator after final assembly.
5
Can I freeze Snickers protein bar?
Yes, freezing is actually the recommended way to store these bars for the best texture. They do not get rock hard, so you can eat them straight from the freezer. Simply wrap them individually in plastic wrap or store them in a freezer-safe bag for easy snacking.