Pineapple Juice Recipe for Juicer: Refreshing & Easy
Imagine standing on a sun-drenched tropical beach, the sound of waves gently lapping against the shore, and a cool breeze rustling through palm leaves. While we might not always be able to hop on a plane to paradise, you can certainly bring those vibrant, island vibes right into your kitchen with this ultimate pineapple juice recipe for juicer enthusiasts. Whether you are hosting a lively summer backyard party, seeking a nourishing boost for a family breakfast, or simply looking for a sweet, comforting beverage to lift your spirits, this recipe is your golden ticket. This isn’t just a drink; it is a bright, golden elixir that captures the very essence of summer in every sip. You will love how the natural sweetness of a perfectly ripe pineapple transforms into a velvety liquid that is far superior to anything you could ever find in a grocery store carton.
- ⏱️ Prep Time: 10 minutes
- 🍳 Cook Time: 0 minutes
- 👥 Servings: 2 servings
- 📊 Difficulty: Easy
Ingredients for Tropical Pineapple Juice
To create the most vibrant and delicious juice, selecting high-quality produce is paramount. Here is what you will need to gather for this refreshing treat:
- 1 large, ripe golden pineapple (approximately 3 to 4 pounds)
- 1-inch piece of fresh ginger root, scrubbed clean (optional, for a spicy kick)
- 1/2 medium lime, peeled (optional, to balance the sweetness)
- Fresh mint sprigs for an aromatic garnish
- Plenty of ice cubes for serving
- A splash of cold filtered water (only if you prefer a thinner consistency)
Detailed Step-by-Step Instructions
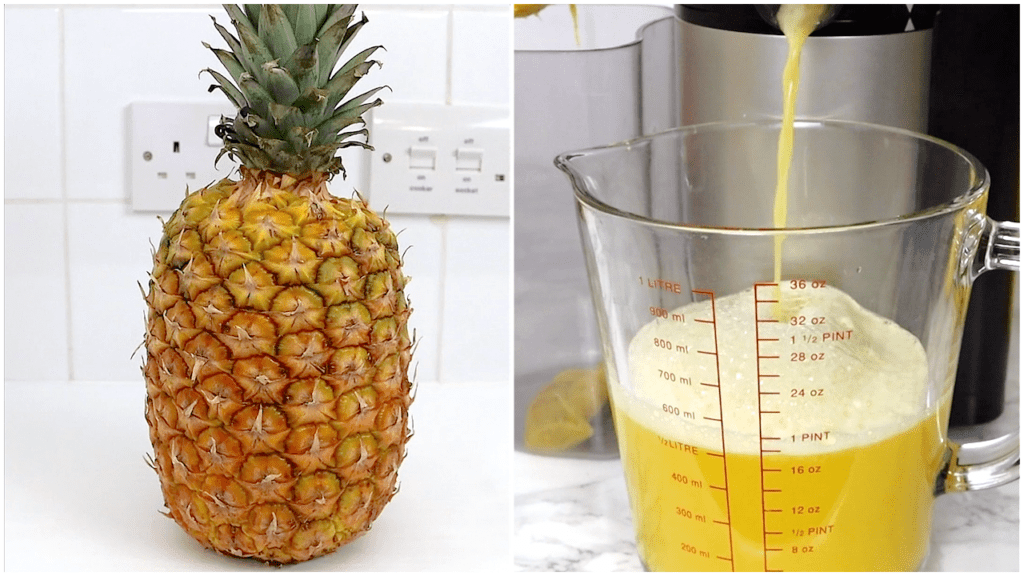
Before you begin the physical process of juicing, it is essential to ensure your pineapple is at its peak. Look for a fruit that feels heavy for its size and gives off a fragrant, sweet aroma at the base. The leaves should be green and healthy, and the skin should have a yellowish-gold hue rather than being purely green. Once you have selected the perfect fruit, follow these comprehensive steps to extract every drop of liquid sunshine.
1. The first step involves preparing the fruit for the juicer. Place your pineapple on a stable cutting board. Using a sharp chef’s knife, slice off the green leafy crown and about half an inch from the bottom base. Stand the pineapple upright and carefully slice away the tough, prickly skin in vertical strips, following the curve of the fruit. Do not worry about removing every single tiny “eye” from the flesh, as a high-quality juicer can easily handle these small bits, and they contain extra nutrients.
2. Once the skin is removed, you will need to cut the pineapple into manageable pieces. Slice the fruit vertically into quarters. Unlike many other recipes where the core is discarded, you should keep the core for juicing. The core of a pineapple is highly concentrated in bromelain, a beneficial enzyme, and your juicer is designed to extract the liquid from these tougher fibers with ease. Cut each quarter into long spears or chunks that are narrow enough to fit comfortably down your juicer’s feeding chute.
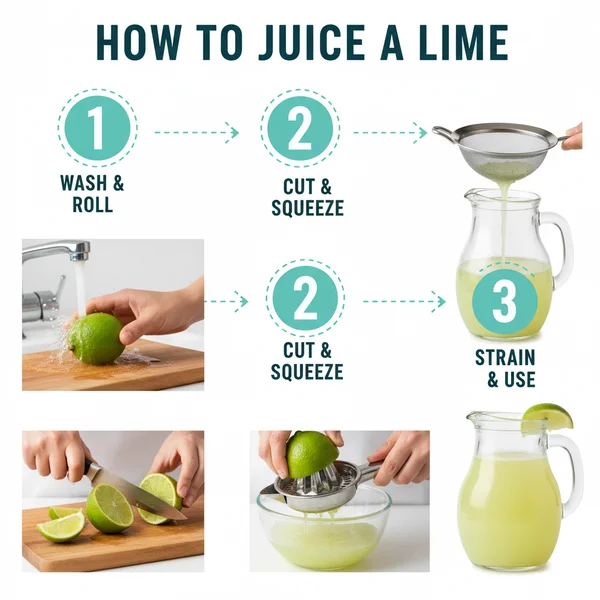
3. If you have chosen to include ginger or lime for added complexity, prepare them now. Peel the lime to avoid the bitter oils found in the zest, but leave the white pith as it contains beneficial flavonoids. For the ginger, there is no need to peel it if it is organic and well-cleaned; simply cut a small piece about the size of your thumb. These additions provide a beautiful contrast to the sugary notes of the fruit, making the beverage more hydrating and sophisticated.
4. Now, it is time to set up your juicing station. Ensure your juicer is properly assembled and place a large pitcher or the provided juice container under the spout. Turn the machine on to its recommended speed setting—usually a higher speed for harder fruits like pineapple. Begin feeding the pineapple spears into the chute one by one. Use the plunger to gently guide the fruit down, but avoid forcing it too hard; let the blades or the auger do the work at their own pace.
5. As you juice, you will notice a thick, frothy foam forming on top of the liquid. This is completely natural and is a result of the air being incorporated during the high-speed extraction. If you prefer a crystal-clear juice, you can use a fine-mesh strainer or a spoon to skim this foam off the top once you are finished. Alternately, many people enjoy the creamy texture the foam adds to the drink.
6. Continue the process by alternating between the pineapple chunks and the ginger or lime pieces. This helps the juicer process the different textures more efficiently and ensures the flavors are well-integrated from the start. Once all the fruit has passed through the machine, let it run for an additional thirty seconds to ensure every last drop of moisture has been extracted from the pulp.
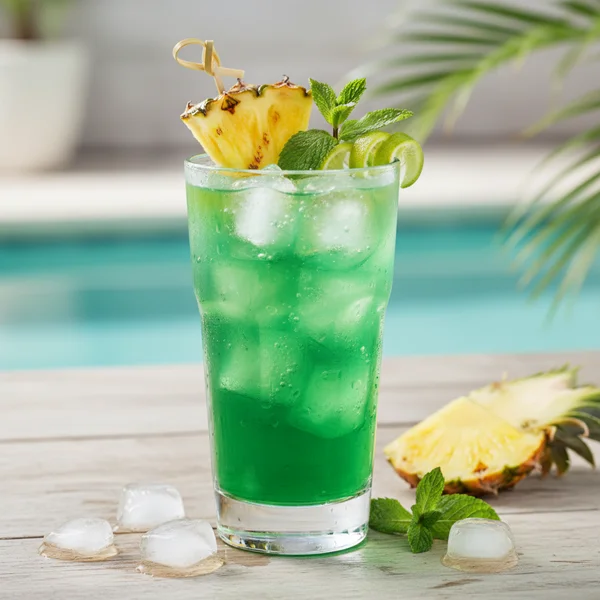
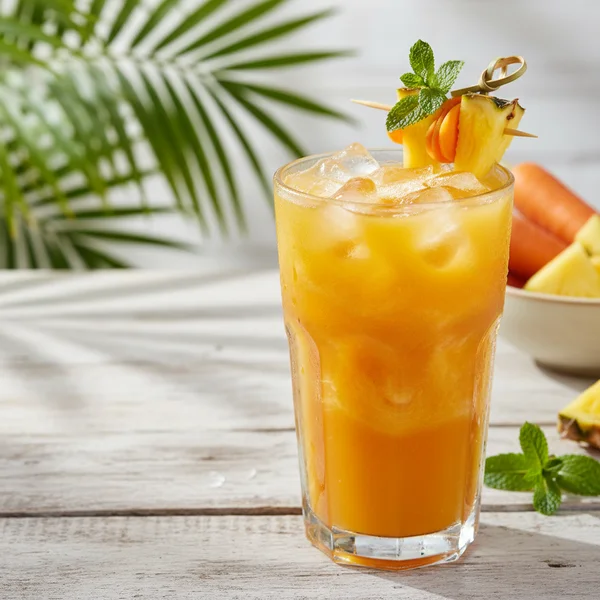
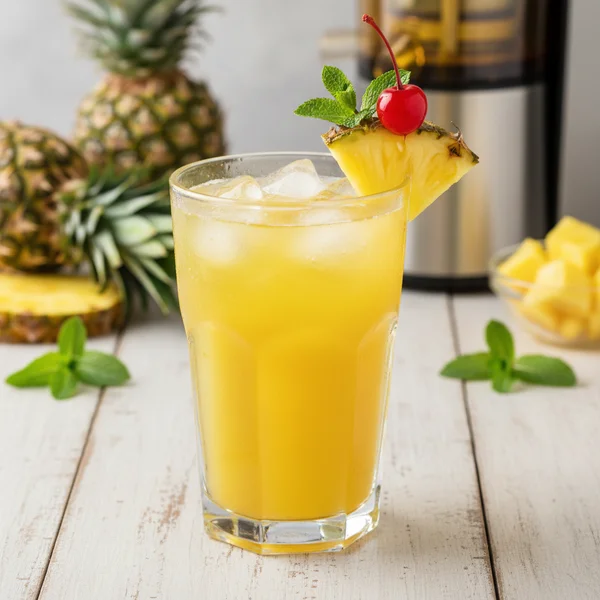
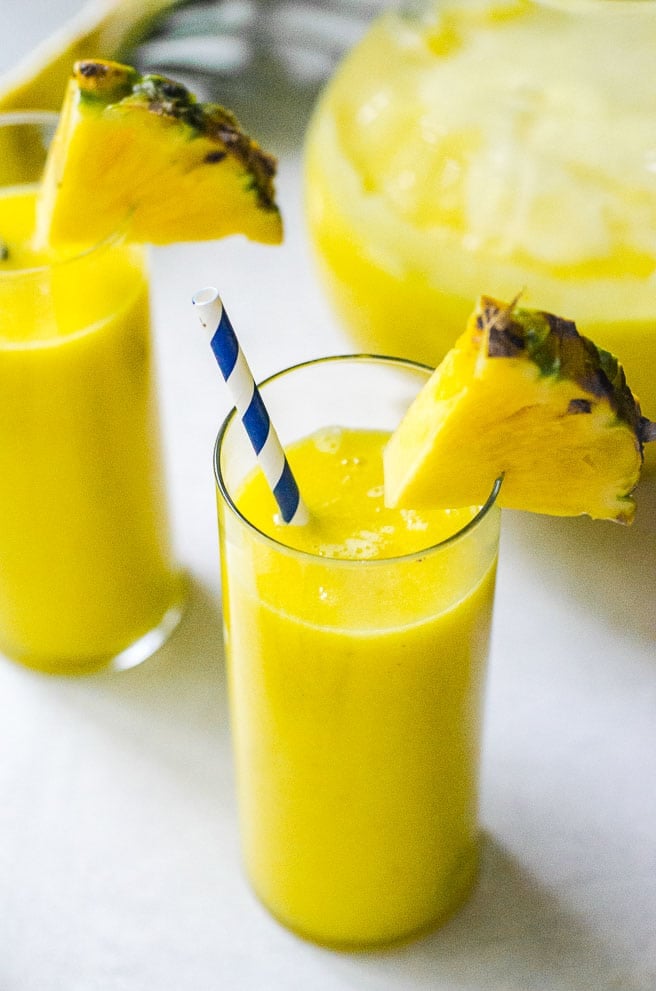
7. To serve, prepare two tall glasses by filling them halfway with fresh ice. Pour the juice slowly over the ice to keep it perfectly chilled. If the juice feels too concentrated or sweet for your palate, you can stir in a tablespoon or two of cold filtered water. Finally, take a sprig of fresh mint, slap it gently between your palms to release the oils, and use it as a garnish. This adds a wonderful scent that hits your nose before the first sip, enhancing the overall sensory experience.
To get the most juice possible, make sure your pineapple is at room temperature before juicing. If you find your juice is too foamy, adding a tiny drop of flax oil or simply stirring it gently with a long spoon can help break the surface tension. For an extra clear juice, line your strainer with a piece of cheesecloth before pouring it into your serving pitcher.
Variations & Substitutions
While a pure pineapple juice recipe for juicer enthusiasts is a classic, there are many ways to customize this drink to suit your mood or dietary needs. If you do not own a juicer, you can use a high-speed blender instead. Simply blend the pineapple chunks with a cup of water and then strain the mixture through a nut milk bag to achieve a similar consistency. For those who want an even more hydrating experience, try mixing the final juice with equal parts coconut water. If you are looking for a frozen treat, you can pour the juice into a tray, create frozen cubes, and then blend those cubes later for a slushie-style beverage. For a spicy twist, a pinch of cayenne pepper or a rim of Tajin seasoning on the glass can elevate the tropical flavors to a whole new level.
Storage & Make Ahead
Freshly pressed juice is always best consumed immediately to enjoy the maximum nutritional benefits and the brightest flavor. However, if you have leftovers, you can store them in an airtight glass jar or bottle in the refrigerator. The juice will stay fresh and delicious for up to 48 hours. You may notice some separation occurring as the solids settle at the bottom; simply give the jar a good shake before pouring. If you want to make this even further in advance, you can freeze the juice in silicone molds or freezer-safe containers for up to three months. This is a great way to have “sunshine on demand” during the colder months.
Calories: 135 kcal | Carbohydrates: 35g | Sugar: 28g | Vitamin C: 130% DV | Manganese: 75% DV | Potassium: 10% DV
*Nutritional values are estimates based on one medium pineapple divided into two servings.
Creating your own homemade beverage using this pineapple juice recipe for juicer owners is a rewarding process that pays off with every refreshing gulp. By taking the time to prep the fruit properly and understanding the nuances of your machine, you ensure a high-quality result that far surpasses any store-bought alternative. This drink is a wonderful way to stay hydrated while treating yourself to a burst of natural vitamins and minerals. Whether you serve it in a fancy glass with an elaborate garnish or drink it straight from a mason jar, the vibrant flavor will transport you to a state of pure relaxation. Enjoy the process, experiment with the variations, and most importantly, savor the incredible taste of fresh, chilled pineapple juice.
❓ Frequently Asked Questions
1
How long does pineapple juice last in fridge?
Freshly juiced pineapple is best consumed immediately but will last in an airtight container for up to 48 to 72 hours. To maintain the best flavor and nutrient profile, keep it chilled and give it a quick stir before serving to redistribute any naturally settled solids.
2
Can I make pineapple juice ahead of time?
Yes, you can prepare this juice a day in advance. However, because it is raw and unpasteurized, the flavor is brightest right after extraction. If making ahead, store it in the coldest part of your refrigerator in a glass bottle with minimal headspace to prevent oxidation.
3
What can I substitute for a juicer?
If you do not have a juicer, you can use a high-speed blender. Simply blend the pineapple chunks with a splash of water until smooth, then strain the mixture through a fine-mesh sieve or nut milk bag to remove the fibrous pulp for a smooth, drinkable consistency.
4
How do I know when a pineapple is ripe?
Look for a pineapple that has a golden-yellow color on the skin and feels heavy for its size. Give it a sniff at the base; it should smell sweet and tropical. Avoid fruits that have soft spots, bruised skin, or a fermented, vinegary scent.
5
Can I freeze pineapple juice?
Absolutely! Pineapple juice freezes very well. Pour the fresh juice into ice cube trays for easy portions or into freezer-safe containers, leaving some room for expansion. It can be stored for up to three months and added directly to smoothies or cocktails for a tropical twist.