Can You Juice Almonds? Ultimate Guide
Technically, you cannot juice an almond in the same way you would an orange or a cucumber because almonds lack natural water content. However, you can “juice” them by using a high-speed blender to create homemade almond milk. By soaking the nuts to soften them and blending them with fresh water, you create a refreshing, hydrating liquid that offers a creamy, dairy-free alternative to traditional juices. While some masticating juicers can process soaked nuts, the blender method remains the most popular and efficient choice.
Understanding the Process: Why Almonds Require a Different Approach
When people ask if they can juice almonds, they are usually looking for a way to transform a hard, nutrient-dense nut into a smooth, drinkable liquid. Unlike a watermelon or an apple, which are comprised mostly of water, an almond is a seed composed primarily of healthy fats, protein, and fiber. If you were to drop dry almonds into a standard centrifugal juicer, you would likely end up with nothing more than a handful of almond dust and a potentially damaged machine.
The “juicing” of almonds is more accurately described as an extraction or emulsion process. To get a liquid result, you must introduce external hydration. This is why the soaking phase is non-negotiable. Soaking the nuts overnight—typically for 8 to 12 hours—serves two purposes. First, it softens the cellular structure of the nut, making it easier for your blender to break it down into microscopic particles. Second, it initiates the sprouting process, which some health enthusiasts believe makes the nutrients more bioavailable and the final beverage easier to digest.
From a scientific perspective, when you blend these softened nuts with water, you are creating an emulsion. The fats and proteins become suspended in the water, resulting in a chilled, milky white liquid. While this isn’t “juice” in the botanical sense, it serves as a highly hydrating and refreshing base for smoothies, coffee, or standalone consumption. If you use a masticating juicer (also known as a cold-press juicer), you can achieve a similar result by feeding soaked almonds and water into the chute simultaneously, allowing the auger to crush the nuts and mix them with the liquid.
Step-by-Step Guide to Extracting Almond Liquid
Creating a refreshing almond beverage at home is a straightforward process, but it requires patience and the right tools. Follow these steps to ensure a smooth, professional-grade result.
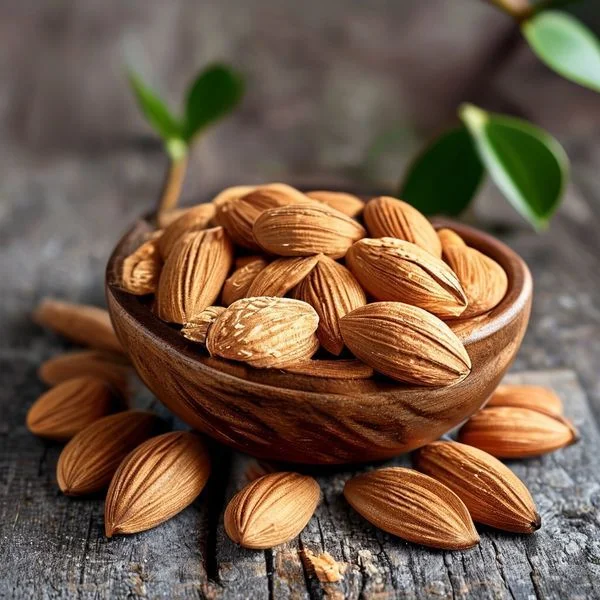
1. The Soaking Phase: Place one cup of raw, unsalted almonds in a glass bowl and cover them with two inches of filtered water. Leave them at room temperature for at least 8 hours. You will notice the almonds plump up as they absorb moisture. This is the first step in creating a truly hydrating drink.
2. Rinse and Prep: Drain the soaking water and rinse the almonds thoroughly under cold running water. Discard the soaking water, as it contains phytic acid and enzyme inhibitors that can affect the flavor and digestibility of your drink.
3. The Blending Process: Transfer the soaked almonds to a high-speed blender. Add three to four cups of fresh, filtered water. If you prefer a creamier, more “whole milk” consistency, use less water. For a thinner, more refreshing beverage, use more.
4. Flavoring (Optional): At this stage, you can add a pinch of sea salt, a splash of vanilla extract, or a pitted date for sweetness. This elevates the profile from a simple base to a gourmet treat.
5. Strain for Smoothness: Pour the mixture through a nut milk bag or a fine-mesh cheesecloth into a large bowl. Squeeze the bag firmly to extract every last drop of liquid. What remains in the bag is almond pulp, which can be saved for baking or added to frozen smoothie bowls.
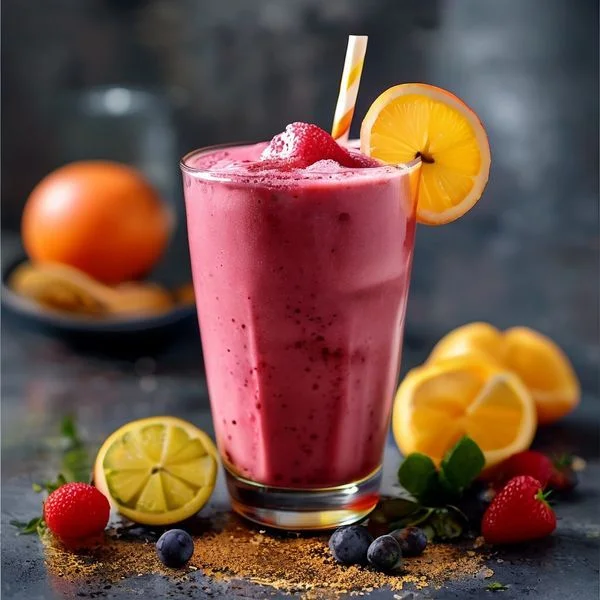
6. Cool and Serve: Transfer the liquid to a glass carafe and keep it chilled in the refrigerator. For the best experience, serve it over ice and add a garnish like a sprinkle of cinnamon or a fresh mint leaf.
Important Considerations and Common Pitfalls
While the process is simple, there are several factors to keep in mind to ensure your homemade almond “juice” is of the highest quality. One of the most common mistakes is using roasted or salted almonds. Always opt for raw almonds; roasting changes the chemical structure of the fats and results in a less stable emulsion that may separate more quickly.
Another consideration is the shelf life. Unlike store-bought versions that contain preservatives and stabilizers like carrageenan or xanthan gum, homemade almond milk will only last about three to five days in the refrigerator. You will notice some natural separation—this is normal. Simply shake the container before pouring to reintegrate the fats.
If you find the texture too “chalky,” it usually means your blender wasn’t powerful enough or you didn’t strain the mixture thoroughly. Using a dedicated nut milk bag is significantly more effective than using a standard kitchen strainer. Additionally, consider the temperature of your water. Using room temperature water during the blending process allows for better extraction of the almond oils, but the final product should always be stored chilled to maintain freshness.
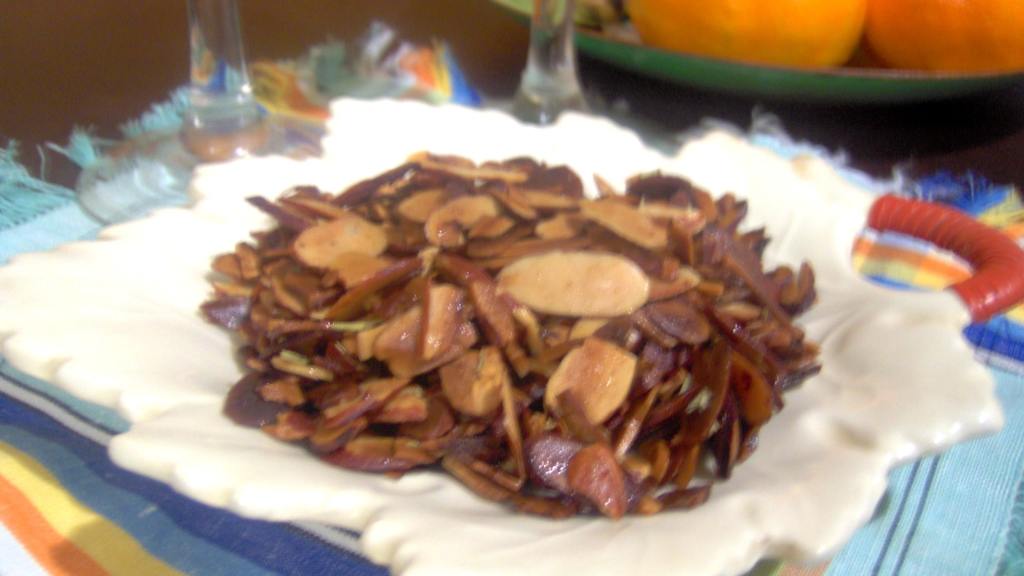
Finally, think about sustainability. The leftover pulp is a valuable byproduct. Instead of discarding it, you can spread it on a baking sheet and dehydrate it in a low-temperature oven to create almond flour. This ensures that no part of the nut goes to waste, making your “juicing” endeavor both economical and eco-friendly.
- For an ultra-creamy texture, try blending your almonds with a small amount of frozen coconut meat or a few cashews.
- Serve your almond drink in a chilled glass over ice to maximize the refreshing qualities during hot summer months.
- A fresh garnish of nutmeg or a citrus zest twist can transform your homemade almond milk into a sophisticated mocktail base.
- If you are in a rush, you can “quick-soak” almonds in boiling water for 1 hour, though the flavor may be slightly more “cooked” than the overnight method.
Conclusion
In summary, while you cannot technically juice almonds in a traditional centrifugal machine, the process of creating a refreshing almond-based beverage using a blender is both easy and rewarding. By following the proper soaking and straining techniques, you can produce a hydrating, nutrient-rich drink that is far superior to many store-bought alternatives. Whether you enjoy it chilled over ice, as a base for frozen treats, or with a beautiful garnish for guests, homemade almond liquid is a versatile staple for any health-conscious kitchen. Stick to raw ingredients and proper storage, and you will enjoy a high-quality, delicious result every time.
❓ Frequently Asked Questions
1
How long does homemade almond milk last in fridge?
Homemade almond milk typically lasts between 3 to 5 days in the refrigerator. Since it contains no preservatives, it is important to store it in an airtight glass container. If the liquid separates, simply give the bottle a quick shake to restore its creamy, hydrating consistency before serving.

2
Can I make almond milk ahead of time?
Yes, making almond milk ahead of time is actually recommended as it allows the flavors to meld and the liquid to become thoroughly chilled. After using your blender and straining the mixture, keep it refrigerated for at least two hours before serving over ice for the most refreshing experience.
3
What can I substitute for a nut milk bag?
If you do not have a specialized nut milk bag, you can use a clean piece of cheesecloth, a fine-mesh strainer, or even a clean thin kitchen towel. The goal is to remove all the gritty pulp so that your final drink is perfectly smooth, hydrating, and light.
4
How do I know when the almonds are ready?
You will know the almonds are ready for the blender when they have visibly plumped in size and the skins can be easily pinched off. After soaking for 12 to 24 hours, the nuts will be soft enough to pulverize into a smooth, creamy milk without straining your equipment.
5
Can I freeze homemade almond milk?
You can freeze homemade almond milk for up to three months. It is best to freeze it in ice cube trays for easy portioning into smoothies or iced coffee. While the texture may change slightly upon thawing, it remains a healthy and hydrating option for blended drinks.