Dairy Free Tim Tams: Ultimate Homemade Recipe
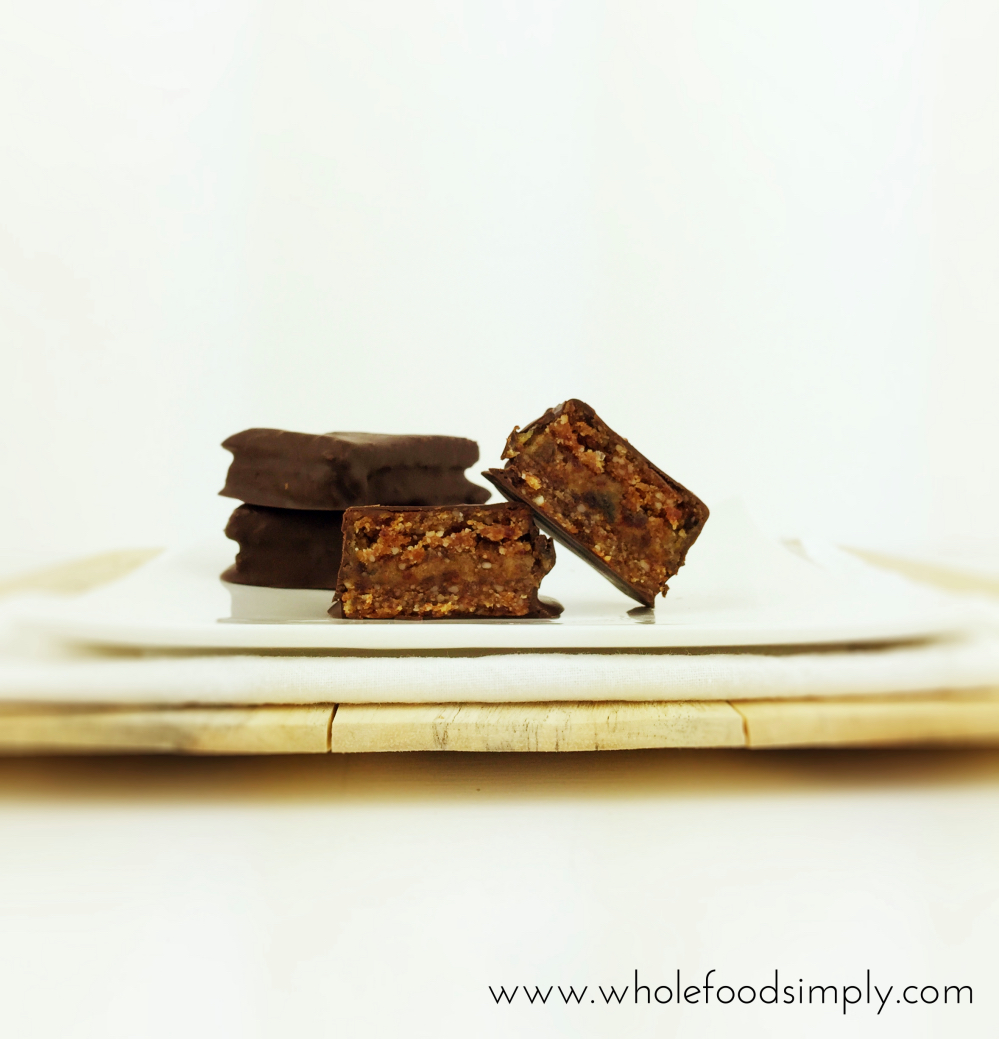
There is something truly magical about the snap of a chocolate biscuit followed by the velvet smoothness of a creamy filling, all encased in a decadent chocolate shell. For those who follow a plant-based or dairy-free lifestyle, missing out on Australia’s most beloved treat, the Tim Tam, can be heartbreaking. This dairy free tim tams recipe changes everything, bringing back that nostalgic crunch and rich flavor without a drop of milk. Whether you are lactose intolerant, vegan, or simply looking for a lighter way to indulge, these homemade biscuits offer a sophisticated twist on the original. They are perfect for afternoon tea, a cheeky midnight snack, or performing the legendary Tim Tam Slam with your favorite oat milk latte.
- ⏱️ Prep Time: 30 minutes
- 🍳 Cook Time: 15 minutes
- 👥 Servings: 12 servings
- 📊 Difficulty: Medium
Ingredients
To create these delicious treats, you will need to gather ingredients for three distinct layers: the chocolate shortbread, the creamy center, and the smooth outer coating.
- For the Chocolate Biscuits:
- 1 cup vegan butter, softened to room temperature
- 1/2 cup granulated white sugar or coconut sugar
- 1 teaspoon pure vanilla extract
- 1 1/2 cups all-purpose flour, sifted
- 1/4 cup high-quality unsweetened cocoa powder
- 1/2 teaspoon sea salt
- For the Creamy Filling:
- 1/2 cup vegan butter, softened
- 1 1/2 cups organic icing sugar
- 2 tablespoons unsweetened cocoa powder
- 1 tablespoon malt extract (ensure it is dairy-free) or maple syrup
- For the Chocolate Coating:
- 200g dairy-free dark chocolate or vegan milk chocolate, chopped
- 1 tablespoon refined coconut oil (to help the chocolate flow)
Step-By-Step Instructions
Step 1: Begin by preparing your chocolate shortbread base. In a large mixing bowl, use a hand mixer or a stand mixer to cream together the softened vegan butter and sugar. Beat the mixture for about three minutes until it becomes pale and fluffy. This step is crucial for the recipe because it incorporates air, ensuring your biscuits are light rather than dense. Add the vanilla extract and mix briefly to combine.

Step 2: In a separate bowl, whisk together the flour, cocoa powder, and sea salt. Gradually add these dry ingredients to your creamed butter mixture on a low speed. Continue mixing just until a cohesive dough forms. Avoid overworking the dough at this stage, as too much handling can lead to a tough biscuit. Once combined, wrap the dough in parchment paper and chill it in the refrigerator for at least 20 minutes to firm up.
Step 3: Preheat your oven to 350°F (175°C) and line two large baking sheets with parchment paper. On a lightly floured surface, roll out the chilled dough to a thickness of about 3 millimeters. Using a rectangular cookie cutter or a sharp knife, cut the dough into rectangles roughly 2 inches long and 1 inch wide. Place the rectangles on the prepared baking sheets, leaving a small gap between each one.
Step 4: Place the biscuits in the oven and adjust your cooking time to 15 minutes. The biscuits should be firm to the touch but not overly browned. Once baked, remove them from the oven and allow them to cool completely on a wire rack. It is vital that the biscuits are stone cold before you attempt to add the filling, or the cream will simply melt and run off the sides.
Step 5: While the biscuits are cooling, prepare the chocolate cream filling. In a clean bowl, beat the vegan butter until smooth. Sift in the icing sugar and cocoa powder to ensure there are no lumps. Add the malt extract or maple syrup and whip the mixture on high speed for two to three minutes until it reaches a pipeable, light consistency. If the mixture feels too soft, you can chill it for ten minutes before using.
Step 6: To assemble, turn half of the cooled biscuits upside down. Spread or pipe a generous layer of the chocolate cream onto the flat side of these biscuits. Place the remaining biscuits on top, pressing down gently to create a sandwich. Put these assembled sandwiches into the freezer for 15 minutes to set. This makes the dipping process much easier and keeps the filling stable.
Step 7: For the final coating, melt the dairy-free chocolate and coconut oil together using a double boiler or in short bursts in the microwave. Stir until the mixture is glossy and smooth. Using a fork, dip each chilled biscuit sandwich into the melted chocolate, ensuring it is fully submerged. Lift it out, tap the fork against the side of the bowl to remove excess chocolate, and place it back onto parchment paper. Allow the chocolate to set completely at room temperature or in the fridge before serving.
To get that iconic “rippled” look on top of your Tim Tams, gently drag the tines of a fork across the top of the chocolate coating just as it begins to set. Additionally, ensure your vegan butter is not “melty” but truly room temperature for the best biscuit texture.
Variations & Substitutions
The beauty of this recipe lies in its versatility. If you prefer a refreshing twist, add half a teaspoon of peppermint extract to the filling for a minty version. For those who enjoy a salted caramel profile, you can swap the chocolate filling for a dairy-free caramel buttercream and add a pinch of fleur de sel. If you need to make these gluten-free, substitute the all-purpose flour with a high-quality 1:1 gluten-free flour blend that contains xanthan gum. You can also experiment with different chocolate coatings; using a dairy-free white chocolate provides a sweeter, creamier finish that mimics the “White Tim Tam” variety perfectly. These modifications allow you to recreate all your favorite store-bought styles while keeping the entire process completely free from animal products.
Storage & Make Ahead
Proper storage is essential to maintain the crisp texture of your dairy free tim tams. Once the chocolate coating has fully set, place the biscuits in an airtight container. If you live in a warm climate, it is best to store them in the refrigerator to prevent the chocolate from blooming. They will stay fresh for up to two weeks when chilled. These treats also freeze exceptionally well for long-term storage. Simply place them in a freezer-safe bag with parchment paper between the layers. They can be frozen for up to three months. For the best flavor, let them sit at room temperature for five minutes before eating.
Servings: 12 biscuits
Calories: 285 kcal
Total Fat: 16g
Carbohydrates: 34g
Protein: 2g
Sugars: 22g
Note: Nutritional values are estimates based on standard dairy-free ingredients.
❓ Frequently Asked Questions
1
How long does dairy free Tim Tams last in fridge?
These homemade dairy free Tim Tams will stay fresh and crunchy for up to 10 days when stored in an airtight container in the refrigerator. Cold storage is essential to prevent the chocolate coating from blooming or softening, especially if you use coconut oil in the recipe.
2
Can I make dairy free Tim Tams ahead of time?
Yes, you can easily make these biscuits 2-3 days ahead of time. In fact, many find that the flavors meld and the cookie texture improves after a day in the fridge. They are perfect for parties or as a make-ahead holiday gift for friends.
3
What can I substitute for coconut cream?
If you don’t like coconut, you can substitute the coconut cream in the filling with a thick vegan buttercream made from dairy-free butter and powdered sugar. This provides a similar creamy texture and stability that is necessary for the iconic sandwich style of the biscuit.
4
How do I know when dairy free Tim Tams are done?
Because the cookies are dark from cocoa powder, it can be hard to see browning. They are done when the edges feel firm to the touch and the surface looks matte rather than shiny. They will continue to crisp up significantly as they cool on the tray.
5
Can I freeze dairy free Tim Tams?
Absolutely! These biscuits freeze exceptionally well for up to three months. To freeze, place them in a single layer on a tray until solid, then transfer to a freezer-safe bag. Thaw them in the refrigerator for an hour before serving to maintain the best texture.