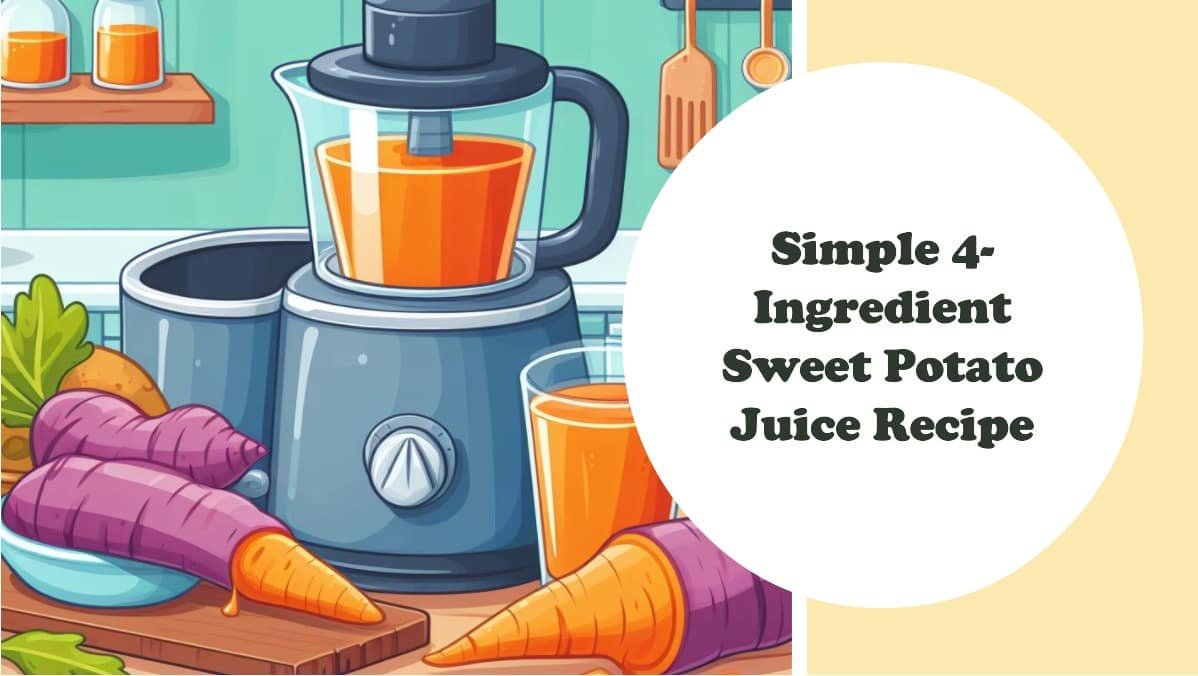
Sweet Potato Juice Recipe: Creamy & Delicious
Imagine a dessert that captures the golden essence of autumn in every bite, combining the earthy, honey-like sweetness of garden-fresh vegetables with the delicate crumb of a professional bakery treat. This sweet potato juice recipe is not just a drink; it is the secret foundation for a sophisticated, moist, and vibrant dessert that will leave your guests guessing the secret ingredient. Whether you are looking for a unique way to use your harvest or simply want to elevate your weekend baking, this recipe offers a perfect balance of nutrition and indulgence. It is a heartwarming dish that appeals to children and adults alike, offering a cozy, nostalgic flavor profile that feels both innovative and classic. Get ready to transform humble tubers into a luxurious masterpiece.

- ⏱️ Prep Time: 10 minutes
- 🍳 Cook Time: 20 minutes
- 👥 Servings: 4 servings
- 📊 Difficulty: Easy
Ingredients Required for This Delightful Dessert
To create the best results, ensure all your refrigerated items are at room temperature before you begin. This helps the fats and liquids emulsify perfectly, resulting in a superior texture.
For the Sweet Potato Juice Base:
- 2 large sweet potatoes (Garnet or Jewel varieties work best for color)
- 1/2 cup filtered water (if using a blender instead of a juicer)
- 1 tablespoon lemon juice (to prevent oxidation)
For the Dessert Batter:
- 1.5 cups all-purpose flour, sifted
- 1.5 teaspoons baking powder
- 1/2 cup unsalted butter, softened to room temperature
- 3/4 cup granulated white sugar
- 1 large egg, room temperature
- 2 teaspoons pure vanilla extract
- 1/2 cup of your fresh sweet potato juice
For the Topping and Garnish:
- 1/2 cup heavy whipping cream, chilled
- 2 tablespoons powdered sugar (for the whipped cream)
- Optional: Cream cheese frosting or a simple vanilla icing for drizzling
Step-by-Step Instructions
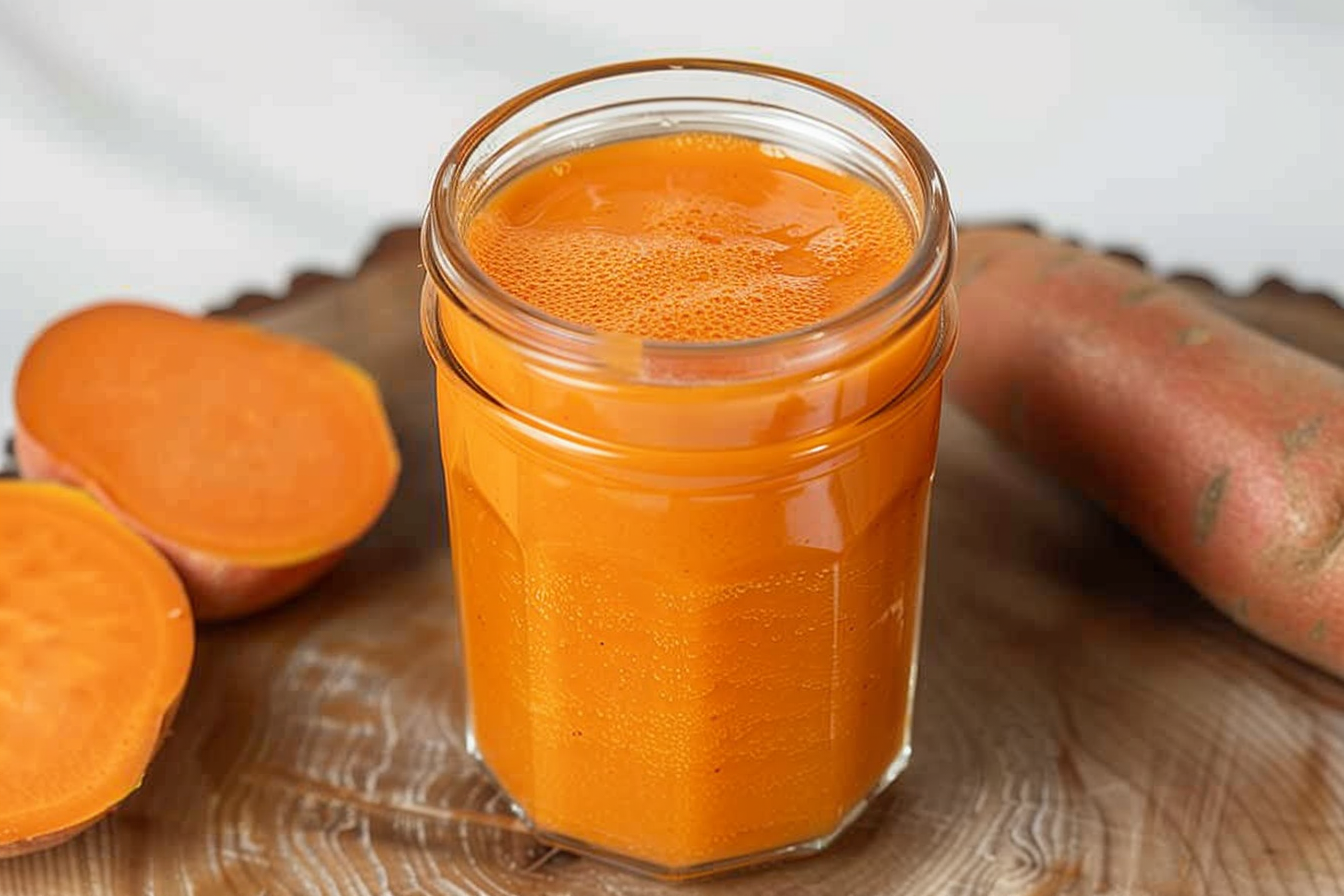
Step 1: Extracting the Sweet Potato Essence
The first step in this sweet potato juice recipe is to extract the liquid gold from your vegetables. Begin by scrubbing your sweet potatoes thoroughly under cold running water to remove any dirt. Peel them carefully to ensure the juice remains a bright, clear orange. If you have a centrifugal or masticating juicer, simply cut the potatoes into chunks and process them. If you do not own a juicer, you can grate the potatoes finely, blend them with a small amount of water, and then strain the pulp through a fine-mesh sieve or cheesecloth. You should aim for a smooth, vibrant liquid. Add a splash of lemon juice to maintain the color and set it aside.
Step 2: Preparing the Baking Environment
Before you dive into the mixing process, preheat your oven to 350 degrees Fahrenheit. While the oven reaches the correct temperature, prepare your baking dish. For this recipe, an 8×8 inch square pan or a standard loaf pan works beautifully. Grease the bottom and sides with a small amount of butter and dust lightly with flour, tapping out the excess. This ensures your dessert releases easily after baking without sticking to the corners.
Step 3: Creaming the Butter and Sugar
In a large mixing bowl, combine your softened unsalted butter and the granulated sugar. Using a hand mixer or a stand mixer fitted with the paddle attachment, cream these two ingredients together on medium-high speed for about three to four minutes. You are looking for a transformation in texture; the mixture should become pale, light, and notably fluffy. This process incorporates air, which works alongside the baking powder later to give the dessert its lift. Once the mixture is airy, beat in the egg and the vanilla extract until fully incorporated and smooth.
Step 4: Sifting the Dry Components
In a separate medium bowl, whisk together your all-purpose flour and the baking powder. Sifting these ingredients is a vital step as it removes any clumps and ensures the leavening agent is evenly distributed throughout the flour. Even distribution of the baking powder is essential for an even rise, preventing any unsightly humps or divots in your finished cake. Adding a tiny pinch of salt at this stage can also help to heighten the natural sugars of the sweet potato juice.
Step 5: Combining the Wet and Dry Ingredients
Now, lower your mixer speed to the slowest setting. You will want to add the flour mixture and the fresh sweet potato juice in alternating batches. Start by adding one-third of the flour, then half of the juice, followed by another third of the flour, the remaining juice, and finally the last of the flour. Mix only until the white streaks of flour disappear. Over-mixing at this stage can develop the gluten too much, leading to a tough, bready texture rather than a delicate dessert crumb.
Step 6: The Baking Process
Pour the vibrant orange batter into your prepared baking pan, smoothing the top with a spatula. Place it on the center rack of your oven and bake for approximately 20 to 25 minutes. Because oven temperatures can vary, start checking for doneness at the 18-minute mark. Insert a wooden toothpick into the center; if it comes out clean or with just a few moist crumbs, the dessert is ready. The edges should be a light golden brown and beginning to pull away slightly from the sides of the pan.
Step 7: Cooling and Preparation for Decoration
Once removed from the oven, place the pan on a wire cooling rack. It is crucial to let the cake cool completely before you even think about adding any frosting or icing. If the base is warm, your toppings will melt and run off the sides. While the cake cools, you can prepare your whipped cream by beating the chilled heavy cream and powdered sugar until stiff peaks form. If you prefer a more decadent finish, prepare a quick icing by mixing powdered sugar with a teaspoon of vanilla extract and a splash of milk until it reaches a drizzling consistency.
Step 8: The Final Assembly
Once the cake is stone cold, you can choose your finishing style. You can spread a thick layer of vanilla frosting over the top for a traditional look, or keep it light by serving individual slices topped with a generous dollop of homemade whipped cream. For an extra touch of elegance, drizzle the vanilla icing in a zigzag pattern across the surface. The bright orange interior of the cake provides a stunning visual contrast against the white toppings, making this sweet potato juice recipe a true showstopper on any dessert table.
To get the most juice out of your sweet potatoes, try soaking the peeled chunks in cold water for 10 minutes before juicing; this hydrates the cells and increases yield. Always use pure vanilla extract rather than imitation for a deeper flavor profile. If your frosting feels too soft, chill it in the refrigerator for 15 minutes before applying it to the cake to ensure it holds its shape beautifully.
Variations and Substitutions
This sweet potato juice recipe is incredibly versatile and can be adapted to suit various dietary needs or flavor preferences. For a gluten-free version, you can substitute the all-purpose flour with a high-quality 1:1 gluten-free baking blend; just ensure it contains xanthan gum to help with the structure. If you prefer a vegan dessert, replace the butter with a vegan buttery spread and use a flax egg (1 tablespoon ground flaxseed mixed with 3 tablespoons water) instead of the chicken egg. You can also swap the heavy whipped cream for a whipped coconut cream topping.
If you want to experiment with flavor, consider adding half a teaspoon of ground cinnamon or a pinch of nutmeg to the flour mixture. These warm spices complement the sweet potato juice exceptionally well. For a different texture, you can fold in half a cup of toasted pecans or walnuts just before baking, providing a satisfying crunch that balances the soft icing and tender crumb.
Storage and Make-Ahead Instructions
To keep your dessert fresh, store any leftovers in an airtight container at room temperature for up to two days. If you have already applied the whipped cream or a cream cheese frosting, the cake must be kept in the refrigerator, where it will stay delicious for up to four days. For long-term storage, you can freeze the un-frosted cake. Wrap it tightly in plastic wrap followed by a layer of aluminum foil; it will keep well for up to three months. When you are ready to serve, thaw it at room temperature and apply a fresh layer of icing or frosting for the best taste and texture.
Nutrition Information (Per Serving)
Calories: 345 kcal
Total Fat: 18g
Saturated Fat: 11g
Cholesterol: 65mg
Sodium: 150mg
Total Carbohydrates: 42g
Dietary Fiber: 2g
Sugars: 24g
Protein: 4g
*Nutritional values are estimates based on standard ingredients and a single serving size of 1/4 of the recipe.
By following this guide, you have created a unique dessert that celebrates the natural utility of root vegetables. Using sweet potato juice provides a moisture level that is difficult to achieve with traditional liquids alone, and the combination of quality fats like butter and the lifting power of baking powder ensures a professional result every time. Whether you choose to finish it with a simple icing or a decadent layer of frosting, this dish is sure to become a frequent request in your household. Enjoy the process of baking and the even greater joy of sharing a homemade treat with those you love.
❓ Frequently Asked Questions
1
How long does sweet potato juice last in fridge?
This sweet potato juice recipe lasts about 3 to 4 days in the refrigerator when stored in an airtight container. Because it contains natural sugars and no preservatives, it is best enjoyed fresh. If the liquid separates over time, simply give it a vigorous shake or stir to restore its creamy consistency.
2
Can I make sweet potato juice ahead of time?
You can definitely prepare the base of this recipe a day in advance. Roast and mash the potatoes ahead of time, then blend with sugar and vanilla extract when you are ready to serve. This allows the flavors to meld together, creating a much richer and more cohesive dessert experience for guests.
3
What can I substitute for granulated sugar?
If you want a more natural profile, substitute the sugar with maple syrup or honey. For a dairy-free version, replace the butter with coconut oil. If you need a gluten-free thickener instead of flour, try using cornstarch or arrowroot powder to maintain that signature velvety texture without altering the sweet flavor.
4
How do I know when the sweet potato juice is done?
The recipe is done once the mixture is completely smooth and the flavors are balanced. If you are heating it on the stove with a touch of butter and a pinch of baking powder for light aeration, look for a gentle simmer. The juice should coat the back of a spoon.
5
Can I freeze sweet potato juice?
Yes, you can freeze this juice for up to two months. Pour the mixture into freezer-safe containers, leaving some space at the top for expansion. Thaw it overnight in the fridge and give it a quick pulse in the blender or a whisking to bring back the perfect smooth, dessert-like texture.