Juicing for a Cold: Ultimate Immunity Booster
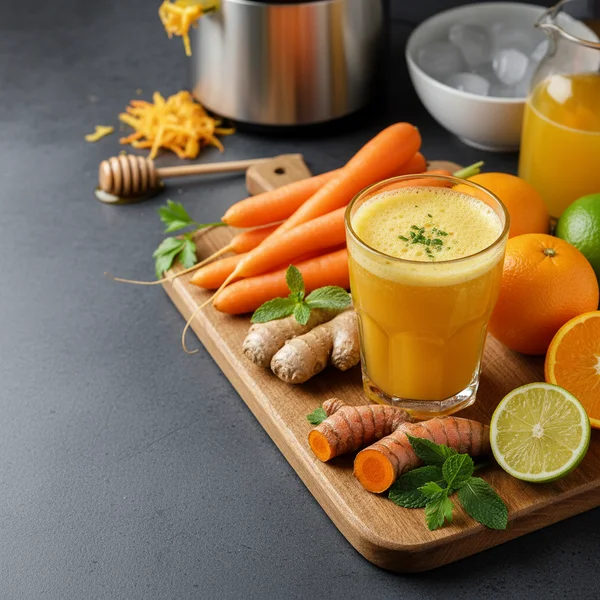
When you feel that telltale tickle in your throat or a sudden heaviness in your head, your body is sending out a distress signal that requires immediate nutritional reinforcement. This vibrant, sunshine-hued elixir is not just another beverage; it is a potent, liquid infusion of nature’s most powerful antioxidants and anti-inflammatory agents designed specifically for those seeking relief through juicing for a cold. This recipe combines the zesty brightness of citrus with the earthy warmth of ginger and turmeric, creating a flavor profile that is simultaneously sharp, sweet, and incredibly soothing. Whether you are looking to shorten the duration of a sniffle or simply want to fortify your immune system during the peak of the winter season, this liquid gold formula will become your go-to kitchen remedy. It is refreshing enough to wake up your senses when you feel sluggish, yet potent enough to provide the biological building blocks your body craves for recovery.
- ⏱️ Prep Time: 10 minutes
- 🍳 Cook Time: 0 minutes
- 👥 Servings: 1 serving
- 📊 Difficulty: Easy
Ingredients
To ensure this recipe provides the maximum health benefits, selecting fresh, high-quality organic produce is highly recommended. The ingredients below are specifically chosen for their synergistic effects on the human immune system.
The Citrus Base
- 2 large Valencia or Navel oranges, peeled (rich in Vitamin C and natural sugars for energy)
- 1 medium lemon, peeled (provides a high concentration of citric acid and cleansing properties)
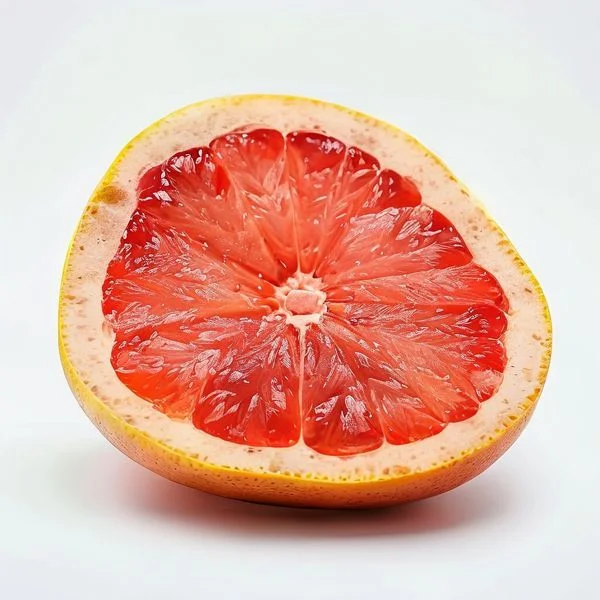
- 1/2 ruby red grapefruit, peeled (optional, for an extra boost of bioflavonoids)
The Root Reinforcements
- 1-inch piece of fresh ginger root, scrubbed (the primary anti-inflammatory and digestive aid)
- 1/2-inch piece of fresh turmeric root (contains curcumin, a powerful antioxidant)
- 3 large carrots, tops removed and scrubbed (high in beta-carotene for mucosal health)
The Final Touch
- 1 pinch of black pepper (essential for the activation of turmeric’s curcumin)
- 1/4 teaspoon of raw local honey (optional, for throat soothing and antibacterial properties)
- 1 pinch of cayenne pepper (optional, to help clear sinus congestion)
Step-By-Step Instructions
1. The first step in successful juicing for a cold is the meticulous preparation of your ingredients. Start by washing your carrots, ginger, and turmeric under cold running water. Use a vegetable brush to remove any dirt or debris from the crevices of the roots. While you do not necessarily need to peel the ginger or carrots if they are organic, peeling the citrus is vital. The bitter white pith of the orange and lemon can ruin the flavor of the juice and may be difficult for some juicers to process. Set your clean ingredients aside on a cutting board, ready for the machine. Taking these ten minutes of prep time ensures a smooth juicing process.

2. Prepare your juicer by ensuring it is properly assembled and the collection container is in place. If you are using a centrifugal juicer, you can move quite quickly; however, if you are using a cold-press or masticating juicer, you will want to cut your carrots and ginger into smaller, manageable pieces to avoid jamming the mechanism. Having your workspace organized before you flip the switch makes the experience much more enjoyable when you are not feeling your best.
3. Begin the juicing process by feeding the ginger and turmeric roots into the chute first. These are the densest ingredients and contain the least amount of water. By juicing them early, the subsequent high-moisture ingredients like oranges and carrots will help flush the concentrated, spicy oils of the roots through the machine and into your glass. Pro Tip: If your ginger piece is very small, wrap it in a piece of orange peel or a carrot slice to provide more bulk for the juicer to grip.
4. Next, introduce the carrots to the juicer. Carrots provide a wonderful, sweet base that balances the intensity of the ginger. As the carrots move through the blades, you will notice a vibrant orange liquid beginning to fill your pitcher. Carrots are essential in this recipe because they provide the volume needed for a full serving while offering vitamin A, which supports the health of the respiratory tract lining.
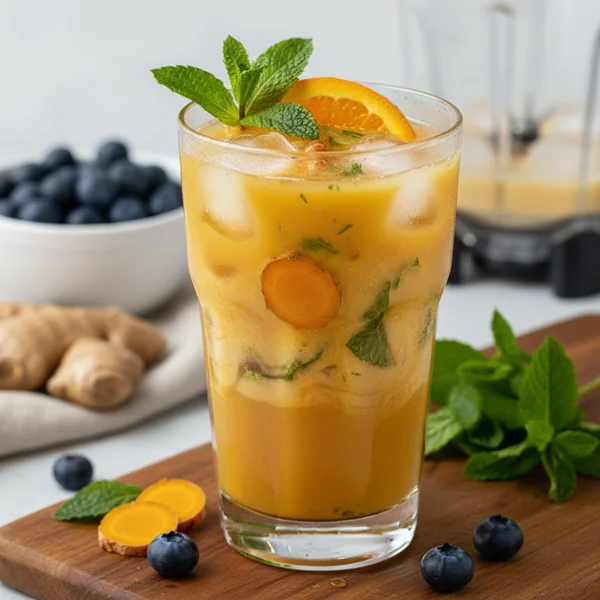
5. Follow the carrots with your peeled citrus fruits. Add the orange segments and lemon pieces one by one. The citrus juice acts as a natural solvent, cleaning the remaining pulp from the internal screens of your juicer. You will see the color of the juice brighten significantly as the citric acid mingles with the carrot and turmeric juices. This combination is what creates the legendary “liquid sunshine” effect that makes juicing for a cold so popular.
6. Once all the solid ingredients have passed through the juicer, turn the machine off. Take a long-handled spoon and stir the juice inside the collection pitcher. The juice will naturally separate into layers based on density, so a good stir is necessary to ensure every sip contains an even distribution of the ginger, turmeric, and vitamin-rich citrus oils.
7. Pour the fresh juice into a tall glass. At this stage, you should add your “active” seasonings. Sprinkle in the pinch of black pepper; this is a crucial step because piperine, the active compound in black pepper, increases the bioavailability of turmeric’s curcumin by up to 2,000 percent. Without the pepper, your body may simply flush away the most beneficial parts of the turmeric.
8. If you are dealing with a particularly sore throat or heavy congestion, now is the time to stir in your raw honey or a dash of cayenne pepper. The honey provides a coating for the throat, while the cayenne contains capsaicin, which acts as a natural decongestant by thinning out mucus. Stir well until the honey is fully dissolved into the liquid. Your total cooking time—or in this case, processing time—is zero, but the medicinal value is immense.
9. Drink the juice immediately. The volatile enzymes and vitamins in fresh juice begin to degrade the moment they are exposed to air and light. To get the maximum benefit for your cold symptoms, consume the entire serving within fifteen minutes of preparation. You will likely feel a warming sensation in your chest and throat—this is the “zing” of the ginger and lemon going to work.
10. The final, and perhaps most important, step is the immediate cleanup. Juicing for a cold is only helpful if you don’t create a secondary headache for yourself later. Rinse the juicer parts under hot water immediately to prevent the carrot and turmeric pulp from drying and staining the plastic. Turmeric, in particular, has a very strong pigment that can permanently dye your equipment if left to sit.
For the most potent results, try to juice your ingredients at room temperature rather than straight from the fridge; this is gentler on a sensitive stomach during illness. If the ginger is too spicy for your palate, you can mellow the flavor by adding half a green apple to the recipe. Additionally, always use the lowest speed setting on your juicer for leafy greens (if adding any) and the highest speed for hard roots like carrots to maximize the yield of nutrients.
Variations & Substitutions
This recipe is highly adaptable based on what you have in your pantry or your specific dietary needs. If you are following a strict vegan diet, simply omit the honey or substitute it with a teaspoon of maple syrup or agave nectar for sweetness. For those who find the citrus too acidic, you can swap one of the oranges for two stalks of celery or half a cucumber; this will increase the hydration levels and provide a more “green” and alkalizing profile to the drink. If you don’t have access to fresh turmeric root, you can stir in half a teaspoon of high-quality organic turmeric powder after juicing. For an extra kick of hydration, try mixing the finished juice with equal parts coconut water. This is particularly helpful if your cold is accompanied by a fever, as coconut water provides essential electrolytes to prevent dehydration.
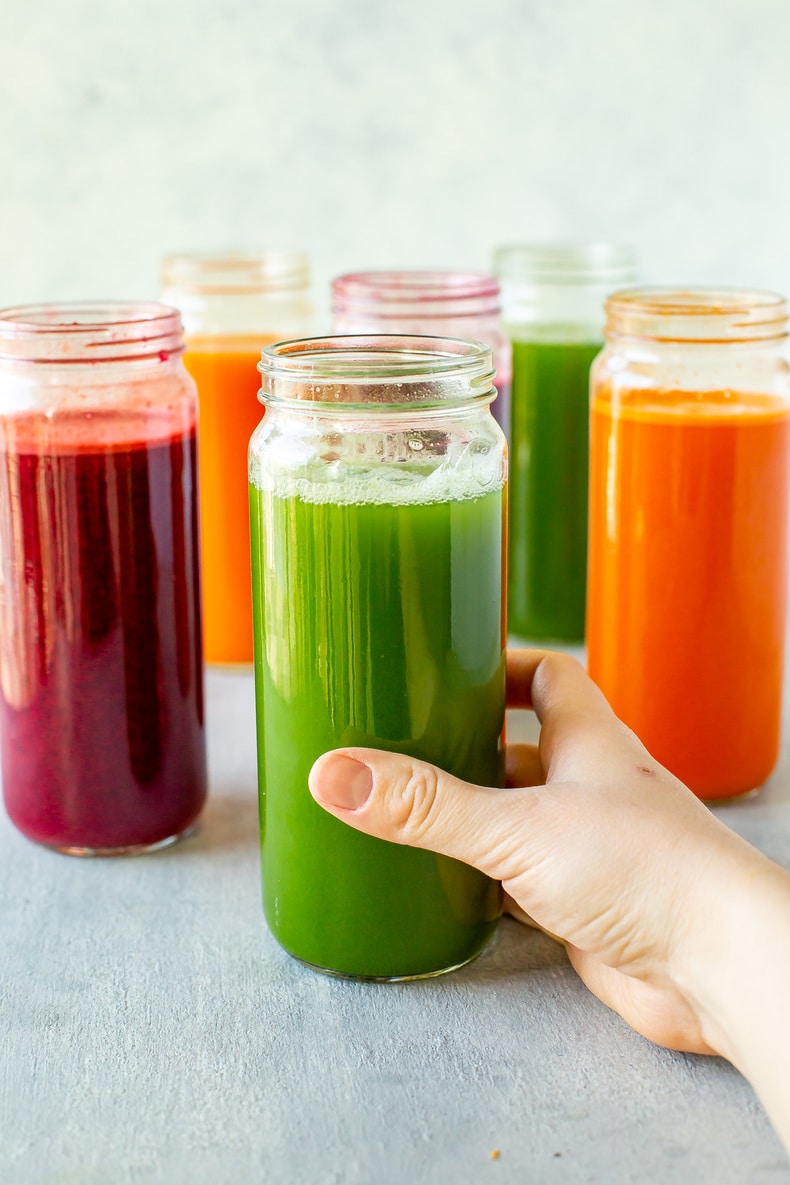
Storage & Make Ahead
While fresh is always best when juicing for a cold, we understand that you may not feel up to cleaning a juicer three times a day. You can store leftovers in an airtight glass container, such as a Mason jar, for up to 24 hours in the back of the refrigerator where it is coldest. To minimize oxidation, fill the jar to the very top so there is no room for air before sealing the lid. If you want to make a batch in advance, you can freeze the juice in silicone ice cube trays. These “immunity cubes” can be dropped into a cup of hot water for a soothing, warm tea or blended into a smoothie later in the week. Always shake the stored juice vigorously before drinking, as natural separation will occur.
- Calories: 185 kcal
- Total Fat: 0.8g
- Sodium: 65mg
- Total Carbohydrates: 44g
- Dietary Fiber: 3g (from pulp)
- Sugars: 28g
- Protein: 3.5g
- Vitamin C: 220% DV
- Vitamin A: 310% DV
*Percent Daily Values are based on a 2,000 calorie diet. Your daily values may be higher or lower depending on your calorie needs.
Embracing the habit of juicing for a cold can transform your recovery process from a passive wait into an active, healing journey. By flooding your system with the concentrated nutrients found in this recipe, you are providing your cells with the specific tools they need to combat oxidative stress and inflammation. The combination of easy prep time and high nutritional yield makes this an accessible remedy for anyone, regardless of their culinary skill level. Remember to listen to your body, stay hydrated with plenty of water alongside your juice, and rest as much as possible. With the right ingredients and a consistent approach to wellness, you will be back on your feet and feeling vibrant in no time. Keep this recipe in your permanent rotation to stay ahead of the seasons and maintain a resilient, glowing health profile throughout the entire year.
❓ Frequently Asked Questions
1
How long does this cold juice last in the fridge?
For the best results, consume the juice immediately after pressing. However, you can store it in an airtight glass container for up to 24 hours. Keep in mind that the Vitamin C content and enzyme activity decrease over time as the juice is exposed to light and air.
2
Can I make this juice ahead of time?
You can prep the ingredients the night before by washing and chopping them. However, it is highly recommended to juice them fresh in the morning. If you must make it ahead, fill the container to the brim to minimize oxygen exposure and store it in the back of the fridge.
3
What can I substitute for turmeric?
If you don’t have fresh turmeric, you can use half a teaspoon of high-quality ground turmeric powder. Alternatively, add extra ginger or a pinch of cayenne pepper to maintain the anti-inflammatory properties and warmth of the drink, though the flavor profile will shift slightly.
4
How do I know when the juice is done?
The juice is ready as soon as it has passed through your centrifugal or masticating juicer and appears well-blended. You should see a vibrant orange or yellow color. If there is a lot of foam, you can skim it off or stir it back in for extra nutrients.
5
Can I freeze this immunity juice?
Yes, you can freeze the juice in ice cube trays for long-term storage. This is a great way to have portions ready to drop into hot water or smoothies. While some nutrients are lost during freezing, it remains a healthy option for quick relief when you feel sick.