How to Make Hazelnut Milk: Easy & Homemade
Imagine a glass of milk that tastes like a toasted forest floor combined with a velvety, creamy cloud. Hazelnut milk is the sophisticated, often overlooked cousin of almond milk, offering a rich, buttery profile that transforms your morning coffee into a gourmet experience. Whether you are pouring it over a bowl of crunchy granola or frothing it for a decadent latte, this homemade version surpasses any store-bought carton in both flavor and nutrition. This recipe is special because it skips the preservatives and gums found in commercial brands, leaving you with nothing but pure, nutty goodness. If you appreciate the deep, earthy notes of pralines and the smooth texture of fresh cream, you are going to fall in love with this simple DIY staple that feels like a daily luxury.
- ⏱️ Prep Time: 10 minutes
- 🍳 Cook Time: 0 minutes
- 👥 Servings: 4 servings
- 📊 Difficulty: Easy
Ingredients
To ensure the best flavor and consistency, you should gather high-quality ingredients. The quality of your hazelnuts directly dictates the richness of the final milk, so look for fresh, plump nuts that haven’t spent too long on the grocery store shelf.
- Base Components:
- • 1 cup (150g) raw, unsalted hazelnuts
- • 4 cups (1 liter) filtered water (plus extra for soaking)
- Flavor Enhancers:
- • 2 whole Medjool dates, pitted (optional for sweetness)
- • 1/2 teaspoon pure vanilla extract or vanilla bean paste
- • 1 pinch sea salt (to balance the nuttiness)
- • 1/2 teaspoon ground cinnamon (optional)
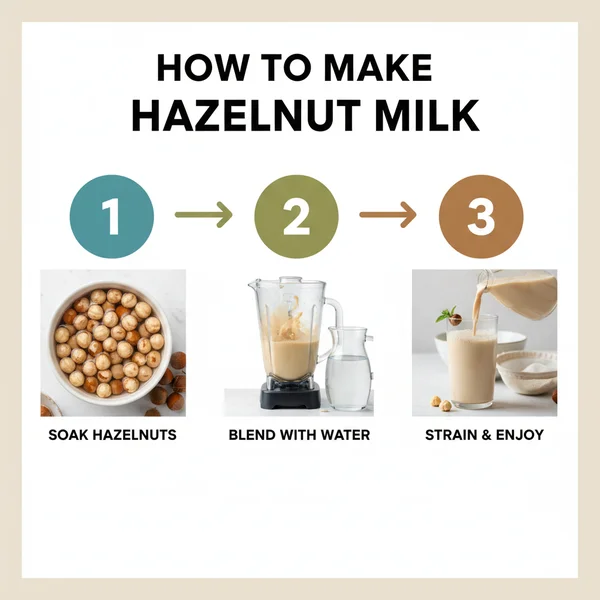
Step-By-Step Instructions
Learning how to make hazelnut milk is an incredibly rewarding process that requires very little active effort but yields professional-quality results. Follow these detailed instructions to master your homemade dairy-free milk.
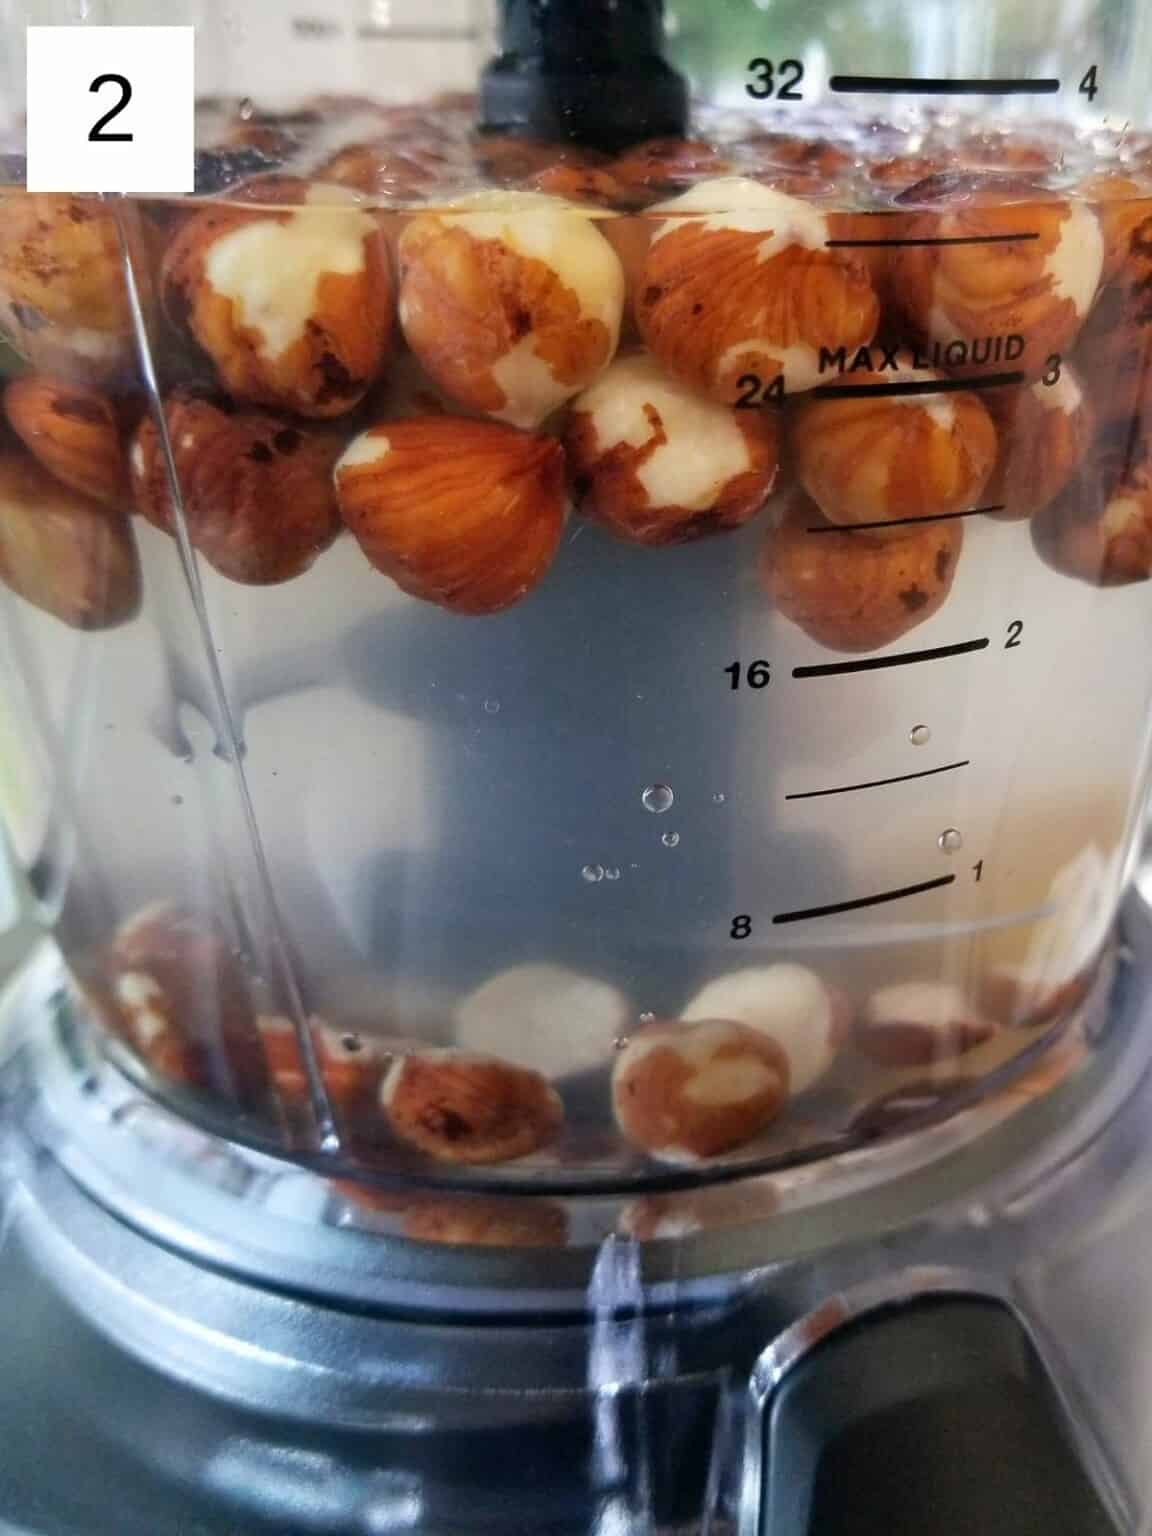
Step 1: The Soaking Process
Place your raw hazelnuts in a large glass bowl and cover them with two to three inches of fresh water. You need to let them soak for at least 8 hours, though overnight is ideal. This step is crucial because it softens the nuts for a smoother blend and helps neutralize phytic acid, making the nutrients more bioavailable and the milk easier to digest. If you are in a rush, you can use very hot water and soak them for 2 hours, but the texture might be slightly less creamy.
Step 2: Rinse and Prepare
Once the hazelnuts have finished soaking, you will notice the water has become murky. Drain the nuts through a colander and rinse them thoroughly under cold, running water. This removes any debris and the bitter tannins released during the soaking phase. Your hazelnuts should look plump and feel slightly softer to the touch. If you prefer a lighter milk, you can rub the hazelnuts between your palms or a clean kitchen towel at this stage to remove the dark skins, though leaving them on adds a deeper flavor.
Step 3: High-Speed Blending
Transfer the rinsed hazelnuts into the carafe of your high-speed blender. Add the 4 cups of fresh filtered water. If you are using Medjool dates for sweetness, add them now, along with the vanilla extract and the pinch of sea salt. Start your blender on the lowest setting and gradually increase to the highest speed. Blend for about 60 to 90 seconds until the mixture looks completely white and frothy, and the nuts have been pulverized into tiny particles. You want to see a rich, milky consistency with no large chunks remaining.
Step 4: Straining for Smoothness
Set a large bowl on your counter and drape a nut milk bag or a double layer of cheesecloth over the rim. Slowly pour the hazelnut mixture into the bag. Lift the bag carefully and use your hands to squeeze and wring out the liquid. Continue this “milking” motion until all the liquid has been extracted into the bowl and you are left with only a dry, crumbly pulp inside the bag. This requires a bit of arm strength, so take your time to ensure you get every last drop of that precious hazelnut milk.
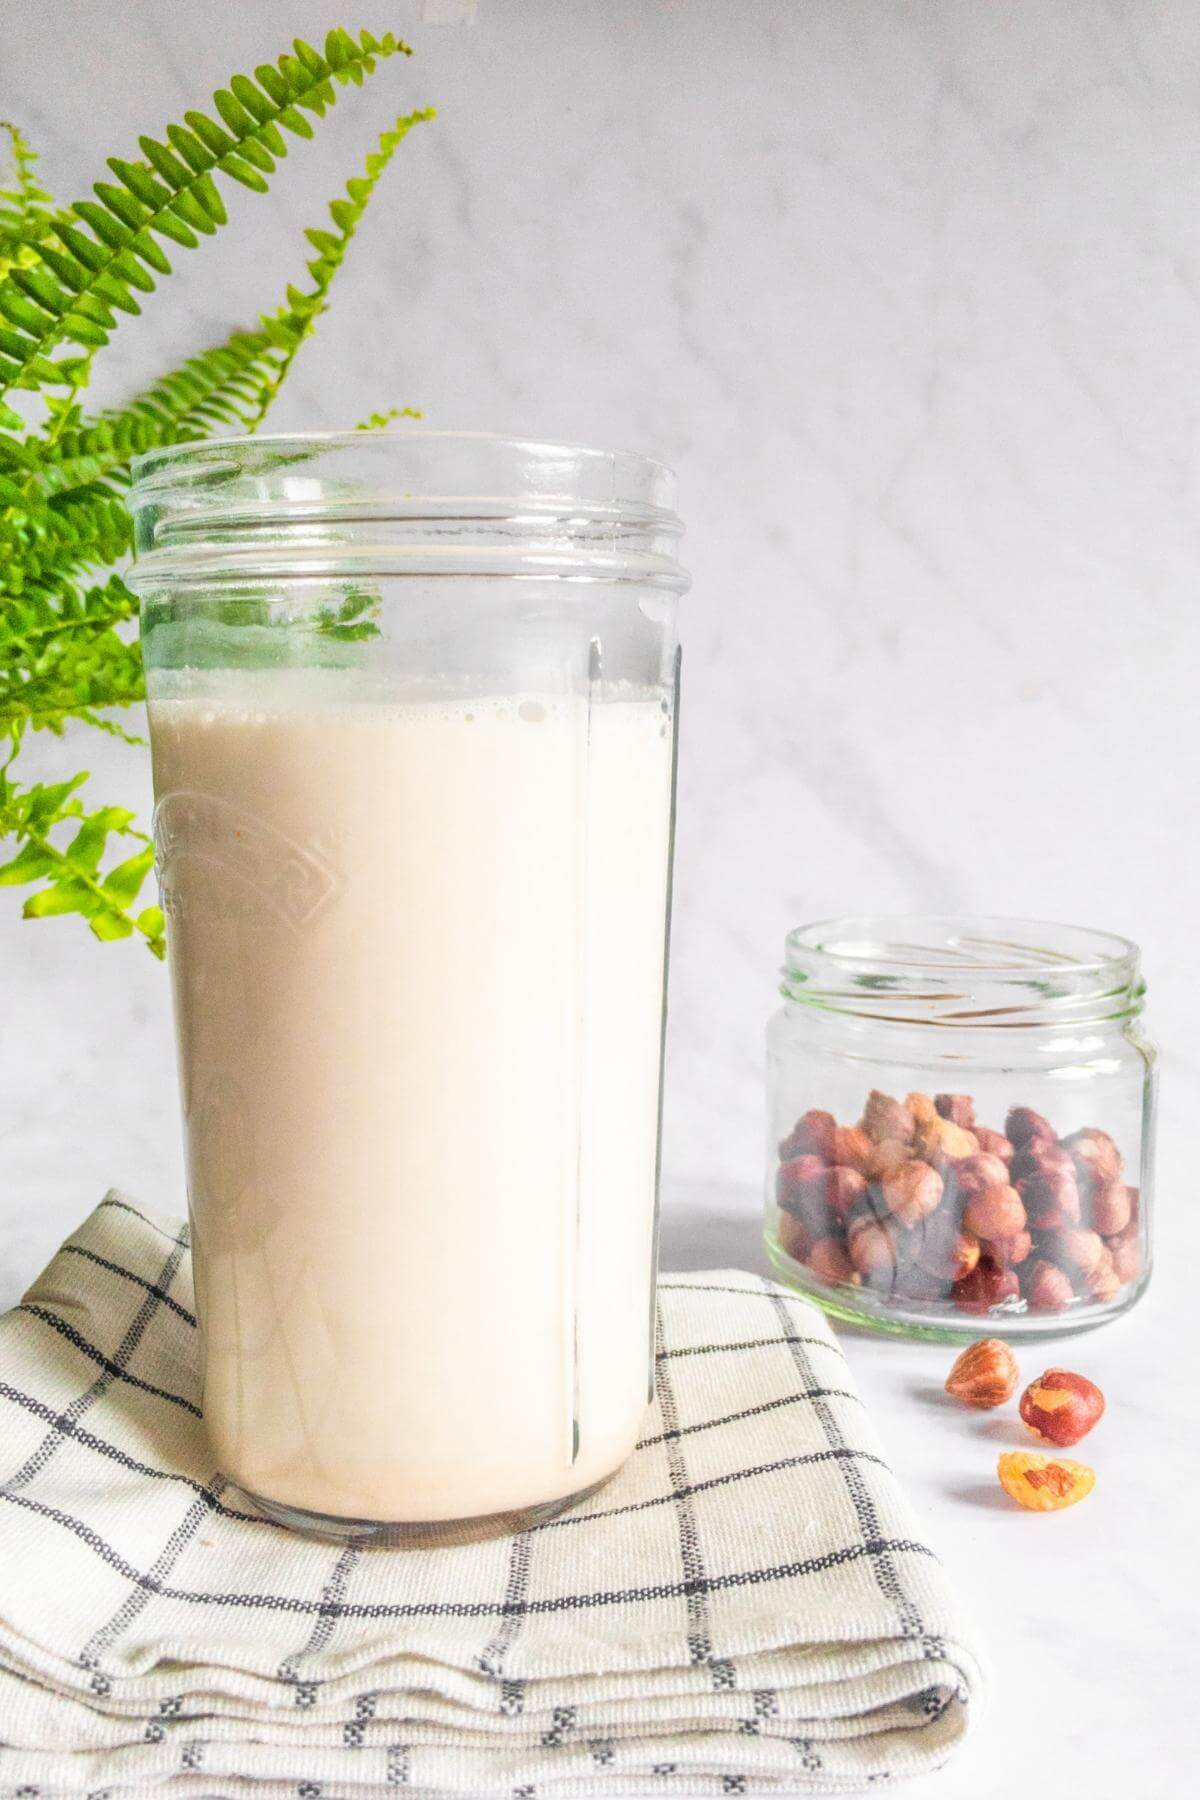
Step 5: Final Adjustments and Bottling
Taste your freshly strained hazelnut milk. If you find it too thick, you can whisk in a little more filtered water. If you want it sweeter, you can stir in a touch of maple syrup or honey at this stage. Once the flavor is perfect, use a funnel to pour the milk into a clean glass jar or bottle. Seal it tightly. Your prep time is officially finished, and you now have a gorgeous batch of artisanal nut milk ready for use.
Step 6: Saving the Pulp
Do not throw away the leftover hazelnut pulp! This “leftover” is actually a fantastic ingredient. You can spread it on a baking sheet and dry it out in a low-temperature oven to create hazelnut meal, or you can add it directly into oatmeal, smoothie bowls, or muffin batters for extra fiber and flavor. This makes the entire recipe zero-waste and highly economical.
For a more intense, “Nutella-like” flavor, you can lightly toast the hazelnuts in a 350°F oven for 8-10 minutes before soaking them. This brings out the oils and creates a much more fragrant milk. Additionally, always use filtered water for the actual blending; since the milk is mostly water, the quality of your water will significantly impact the final taste of the recipe.
Variations & Substitutions
The beauty of this recipe is its versatility. If you want a “Chocolate Hazelnut Milk,” simply add 2 tablespoons of high-quality cocoa powder and an extra date to the blender. For a seasonal twist, add pumpkin pie spice and a spoonful of pumpkin puree for a fall-inspired treat. If you are following a ketogenic diet, omit the dates and use a few drops of liquid stevia or monk fruit sweetener instead. You can also vary the creaminess by adjusting the water ratio; use 3 cups of water instead of 4 for a thicker, heavy-cream-like consistency that is perfect for coffee creamer. For those with a vanilla allergy, try using almond extract or even a dash of maple extract for a different flavor profile.
Storage & Make Ahead
Because this homemade hazelnut milk contains no preservatives, it should be stored in the coldest part of your refrigerator in a sealed glass container. It will stay fresh for about 3 to 5 days. It is perfectly normal for the milk to separate as it sits—the fats and water will naturally part ways because there are no emulsifiers. Simply give the bottle a vigorous shake before each use to recombine the ingredients. If you have made a large batch that you cannot finish, you can freeze the milk in ice cube trays. These hazelnut milk cubes are perfect for dropping into hot coffee or blending into smoothies without diluting the flavor.
Nutrition Information
While specific values can vary based on the size of the hazelnuts and how much you squeeze the pulp, a standard serving of this hazelnut milk is quite healthy. The following values are based on 1 cup of the finished milk:
- Calories: 75 kcal
- Total Fat: 7g
- Carbohydrates: 3g
- Protein: 2g
- Fiber: 1g
This recipe provides a good source of Vitamin E, manganese, and healthy monounsaturated fats, making it a nutritious addition to your daily diet.
Taking the time to understand how to make hazelnut milk from scratch will elevate your kitchen repertoire. This recipe is simple, efficient, and provides a level of quality that store-bought options simply cannot match. With a prep time of only ten minutes, there is no reason not to try this creamy, delicious alternative today. Your morning coffee will thank you!
❓ Frequently Asked Questions
1
How long does hazelnut milk last in fridge?
Homemade hazelnut milk typically lasts between three to five days when stored in an airtight glass jar in the refrigerator. Because it lacks preservatives found in commercial brands, it is best enjoyed fresh. Always give the bottle a good shake before pouring, as natural separation is normal.
2
Can I make hazelnut milk ahead of time?
Yes, you can definitely make hazelnut milk ahead of time. In fact, it tastes even better after chilling for a few hours. Just ensure you soak the nuts the night before to reduce active prep time. It is a great addition to your weekly meal prep routine.
3
What can I substitute for Medjool dates?
If you do not have Medjool dates, you can easily substitute them with maple syrup, agave nectar, or honey to achieve a similar sweetness. Use about one tablespoon of liquid sweetener for every two dates. Alternatively, leave the sweetener out entirely for a sugar-free, versatile unsweetened nut milk.
4
How do I know when hazelnut milk is done?
Hazelnut milk is ready once the nuts and water have been blended into a completely uniform, opaque white liquid and then strained through a fine mesh or nut milk bag. There should be no large chunks left in the milk, and the resulting texture should feel smooth and creamy.
5
Can I freeze hazelnut milk?
You can freeze hazelnut milk for up to three months. It is best to freeze it in ice cube trays for easy portioning in smoothies or iced coffee. Note that the texture may change slightly upon thawing, so a quick blend after defrosting helps restore its original creaminess.