How to Make Pear Juice: Easy & Refreshing
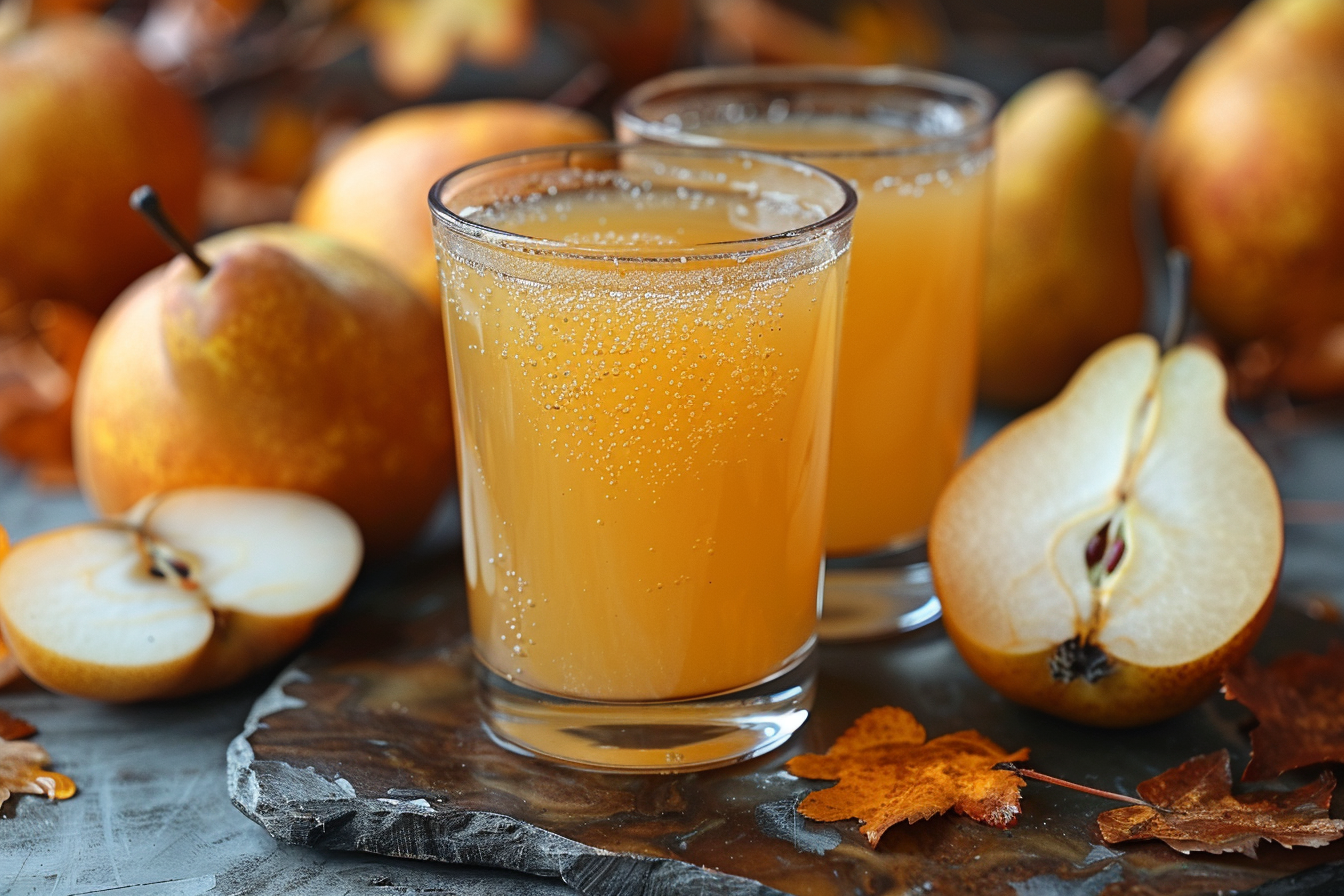
Imagine a drink that captures the essence of a sun-drenched orchard in every sip. Pear juice is often the unsung hero of the fruit juice world, offering a sophisticated, floral sweetness that apple or orange juice simply cannot replicate. This homemade version is incredibly refreshing and deeply hydrating, making it the perfect tonic for a warm afternoon or a revitalizing start to your morning. What makes this recipe truly special is the velvety, almost creamy texture achieved by using a high-speed blender rather than a standard centrifugal juicer. Whether you are looking for a healthy alternative to soda or a elegant base for a weekend mocktail, you will fall in love with the pure, unadulterated flavor of fresh pears. This juice is perfect for children, athletes looking for natural electrolytes, or anyone who appreciates the subtle nuances of seasonal fruit.
- ⏱️ Prep Time: 10 minutes
- 🍳 Cook Time: 0 minutes
- 👥 Servings: 2 servings
- 📊 Difficulty: Easy
Understanding Your Ingredients and Equipment
To master the art of how to make pear juice, you must first understand the primary component: the pear itself. Unlike other fruits, pears ripen from the inside out. For the best juice, you want fruit that is “check the neck” ripe. This means when you apply gentle pressure to the stem end, it gives slightly. If the fruit is soft all over, it may be overripe and lead to a gritty or overly thick texture. The most common varieties for juicing include the Bartlett for its high water content and sweetness, the Anjou for its mild citrus notes, and the Bosc for a deeper, honey-like flavor. Combining these varieties can create a complex flavor profile that rivals expensive artisanal beverages.
Using a blender is the secret to a more fiber-rich and satisfying drink. While traditional juicers discard the pulp, a blender allows you to retain some of those beneficial nutrients, or at the very least, gives you complete control over the final consistency through straining. Having a high-quality blender ensures that the pear skins—which contain a significant portion of the fruit’s antioxidants—are pulverized into a smooth liquid. Additionally, having plenty of ice on hand is crucial. Pear juice is best enjoyed when it is chilled to the point of being ice-cold, which helps to temper the natural sugars and creates a more crisp mouthfeel.
Ingredients for Fresh Pear Juice
- 4 Large Pears: Preferably Bartlett or Bosc, ripe but firm to the touch.
- 1 Cup Cold Water: Use filtered water to ensure the cleanest flavor profile.
- 1 Tablespoon Fresh Lemon Juice: This adds a necessary brightness and prevents the juice from browning.
- 1 Teaspoon Honey or Maple Syrup (Optional): Depending on the natural sweetness of your fruit.
- 1/2 Teaspoon Fresh Ginger: Grated, for an optional zesty kick that aids digestion.
- Ice Cubes: For serving and for achieving a frozen-slushie consistency if desired.
- Fresh Mint or Cinnamon Sticks: For an aromatic garnish.
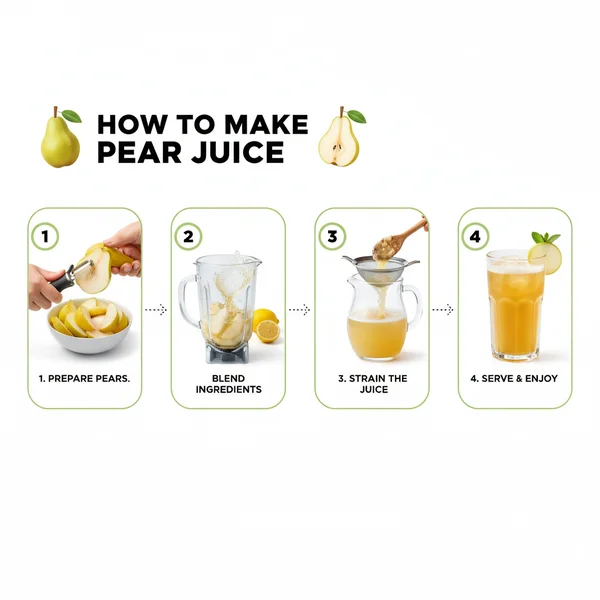
Step-By-Step Instructions
1. The first step in learning how to make pear juice is the proper preparation of your fruit. Start by washing your pears thoroughly under cold running water. Since we will be using the skins to maximize nutrition and flavor, it is important to remove any wax or residue. Once washed, pat them dry with a clean kitchen towel. You do not need to peel the pears unless you specifically want a very pale, clear juice, but keeping the skin on adds depth to the color and a boost of vitamins.
2. Use a sharp knife to core the pears. Slice the fruit into quarters and carefully remove the central core, seeds, and the tough stem. There is no need for precise chopping; your blender will do the heavy lifting. Simply cutting the fruit into chunks that are roughly two inches in size is more than sufficient. If you notice any particularly bruised spots on the flesh, trim those away to ensure the juice remains bright and fresh-tasting.
3. Transfer your prepared pear chunks into the pitcher of your blender. At this stage, add the one cup of cold, filtered water. The water acts as the liquid base that allows the blades to create a vortex, ensuring a smooth transition from solid fruit to liquid juice. If you prefer a thicker, nectar-like consistency, you can start with half a cup of water and add more as you go. This is also the time to add your tablespoon of fresh lemon juice. The acidity of the lemon is a critical component as it acts as a natural antioxidant, keeping your juice a beautiful golden-yellow rather than a dull brown.
4. If you are opting for flavor enhancements, add your honey and grated ginger now. Secure the lid of your blender tightly. Start the machine on the lowest speed setting to break up the larger chunks of fruit. Gradually increase the speed to high. You want to blend the mixture for about 60 to 90 seconds. Look for a uniform, silky consistency with no visible bits of skin or pulp remaining. The friction from the blender may slightly warm the juice, which is why using cold water initially is so helpful.
5. Once the blending is complete, you have a choice regarding the texture. If you enjoy a “whole food” juice, you can serve it as is. However, for a traditional juice experience, you will want to strain the mixture. Place a fine-mesh sieve or a piece of cheesecloth over a large glass pitcher. Slowly pour the pear liquid through the strainer. Use a spoon to gently press the pulp against the mesh to extract every last drop of refreshing liquid. Do not press too hard, or you might force the solids through.
6. After straining, it is time to get the juice perfectly chilled. While you could drink it immediately, the flavors of a pear juice truly bloom when the temperature drops. Place the pitcher in the refrigerator for at least 30 minutes. If you are in a hurry, you can place the pitcher in an ice bath to speed up the process. The cold temperature makes the juice incredibly hydrating and crisp on the palate.
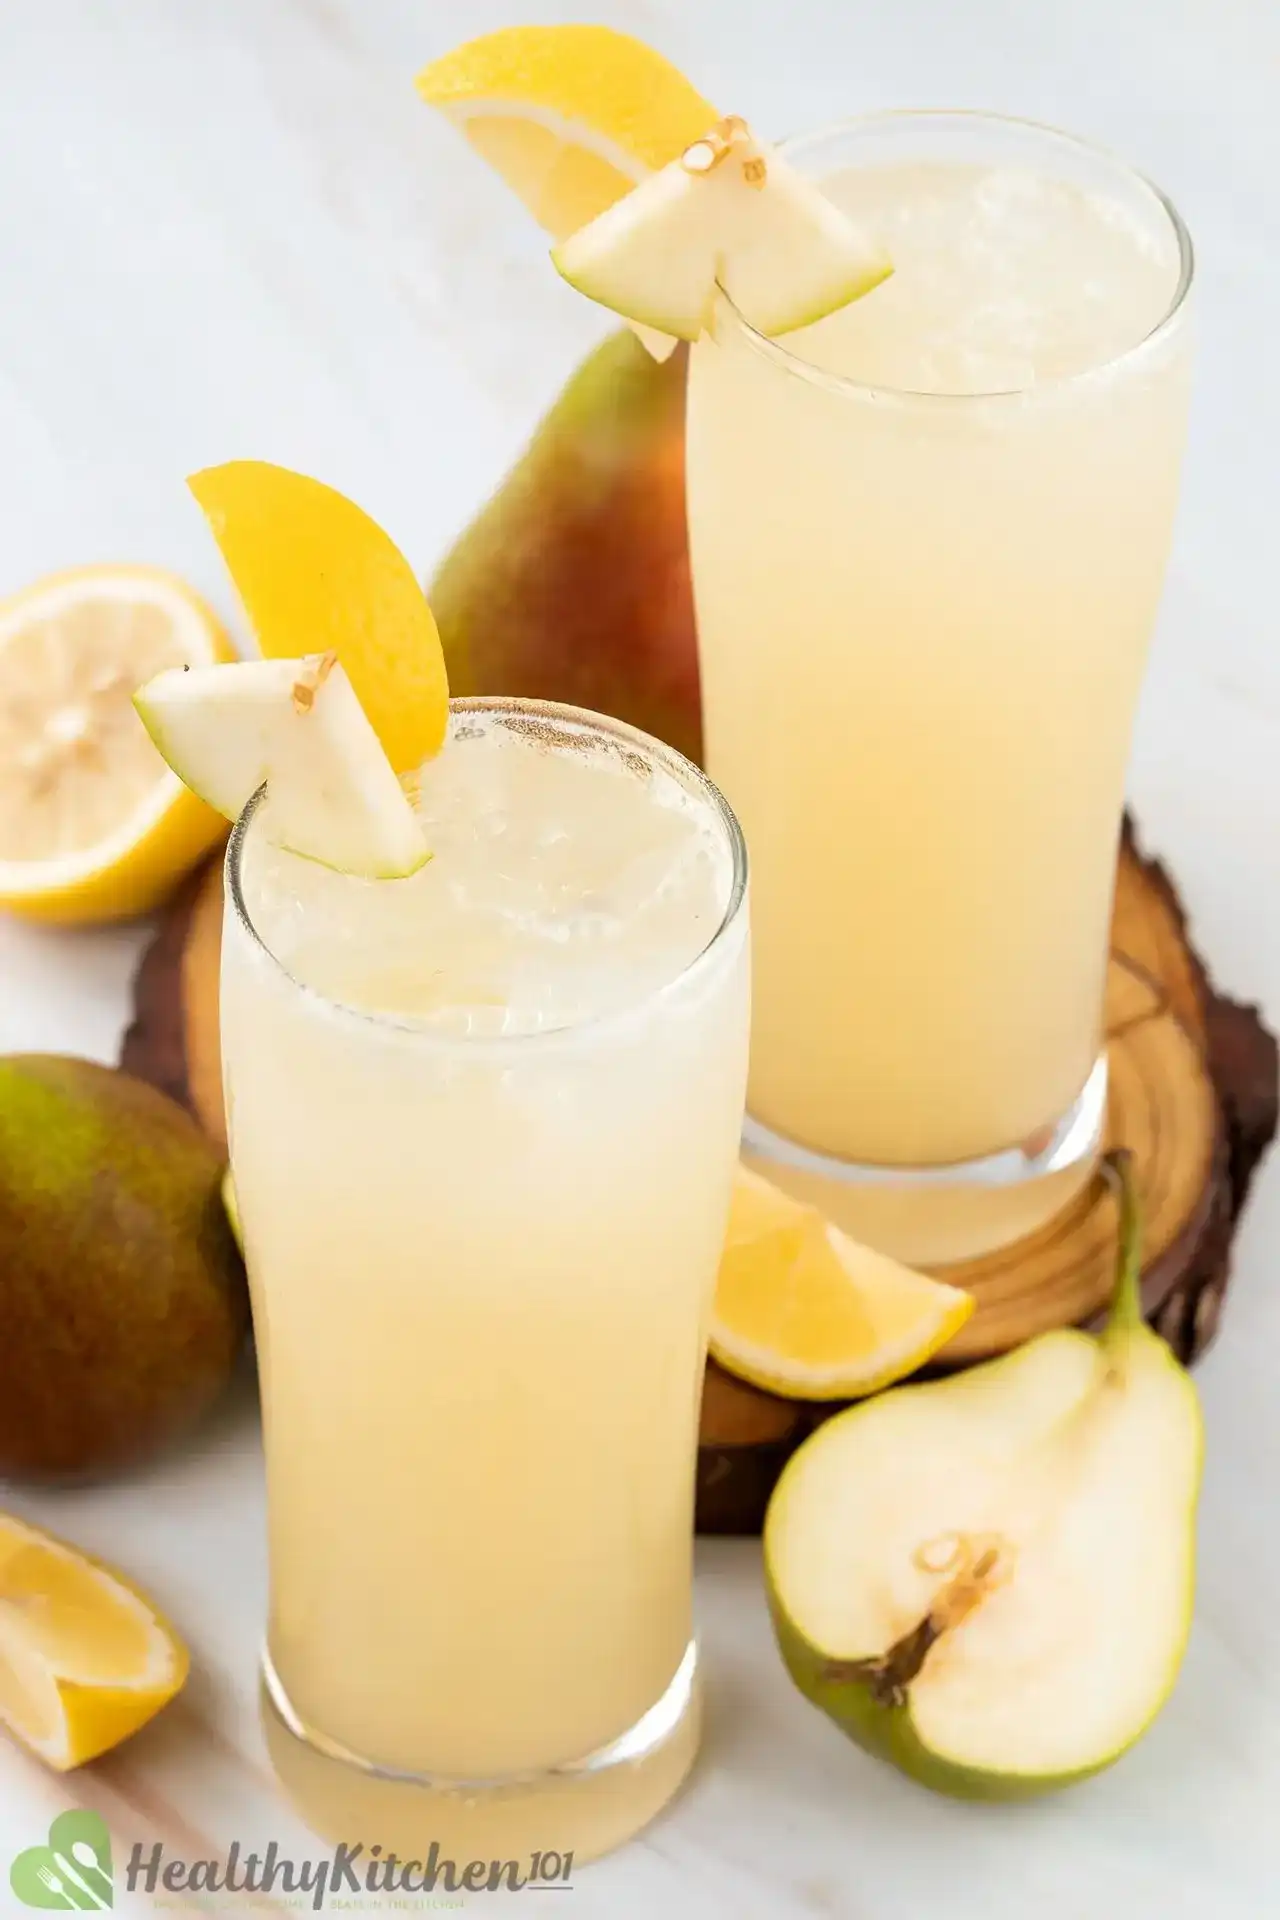
7. For the final presentation, prepare two tall glasses by filling them halfway with fresh ice. Pour the chilled pear juice over the ice, leaving a little room at the top. The ice will keep the drink cold without diluting it too quickly if you drink it promptly. If you want a more “frozen” style drink, you can actually add the ice directly into the blender in step 4 to create a pear granita or slushie.
8. The final touch is the garnish. A simple sprig of fresh mint adds a wonderful aroma that complements the floral notes of the pear. Alternatively, a light dusting of ground cinnamon or a single cinnamon stick can lean into the autumnal qualities of the fruit. Serve your juice immediately while it is at its peak of freshness and enjoy the natural vitality of this homemade beverage.
To get the most out of your pears, leave them on the counter at room temperature until they smell fragrant. If your juice feels too thick even after straining, stir in a splash of sparkling water for a refreshing pear spritzer. Always use fresh lemon juice rather than bottled for the best flavor balance. If you find your pears are not very sweet, add a single pitted Medjool date to the blender for a natural, caramel-like sweetness without refined sugar.
Variations & Substitutions
One of the best things about knowing how to make pear juice is how easily you can customize it to suit your dietary needs or flavor preferences. For a vegan-friendly sweetener, stick with maple syrup or agave nectar instead of honey. If you are looking for an even more hydrating version, try substituting the plain water with coconut water; this adds a subtle tropical note and extra potassium. For a “Frozen Pear Cooler,” blend the pears with two cups of ice instead of water to create a thick, spoonable treat that is perfect for hot summer days. You can also experiment with spice by adding a pinch of cardamom or nutmeg during the blending phase, which pairs beautifully with the natural profile of Bosc pears.
Storage & Make Ahead
Fresh pear juice is best enjoyed within 24 hours of preparation to ensure maximum nutrient density and flavor. However, if you have leftovers, store them in an airtight glass jar or bottle in the refrigerator. Because this is a natural product without preservatives, some separation is normal; simply give the jar a good shake before pouring. If you want to make this ahead of time in larger batches, you can pour the juice into silicone ice cube trays and keep them frozen. These frozen pear cubes can then be popped into a blender later for a quick morning smoothie or used as flavorful “ice” in a glass of water.
Calories: 135 kcal
Fiber: 6g
Vitamin C: 15% DV
Potassium: 250mg
Sugars: 22g (Natural)
Note: Nutritional values are estimates based on standard pear sizes and will vary depending on the variety of fruit used.
Mastering how to make pear juice at home is a simple yet rewarding skill. It allows you to skip the added sugars and preservatives found in store-bought versions while enjoying a drink that is significantly more flavorful. By using your blender and a few ripe pears, you can create a beverage that is both a treat for the senses and a gift to your health. Whether served chilled over ice or enjoyed as a thick, comforting nectar, this pear juice is sure to become a staple in your kitchen rotation.
❓ Frequently Asked Questions
1
How long does pear juice last in fridge?
Fresh pear juice is best enjoyed immediately but can be stored in an airtight container in the refrigerator for up to 48 hours. Since it contains no preservatives, the color may darken slightly over time, so give it a quick stir or shake before serving to redistribute the contents.
2
Can I make pear juice ahead of time?
You can prepare pear juice a few hours in advance, but it is highly recommended to drink it fresh for the best flavor and nutrient profile. If you must make it ahead, add extra lemon juice to minimize oxidation and keep it chilled in a tightly sealed glass jar.
3
What can I substitute for a blender?
If you do not have a blender, you can use a dedicated juicer machine which will automatically separate the pulp from the liquid. Alternatively, you can grate the pears and squeeze the pulp through a clean cheesecloth, though this manual method is much more labor-intensive than using modern kitchen appliances.
4
How do I know when pears are ready?
Pears are ready for juicing when they are slightly soft to the touch near the stem. They should be fragrant and juicy but not bruised or overly mushy. Using perfectly ripe fruit ensures a naturally sweet taste without the need for adding processed sugars or honey to your drink.
5
Can I freeze pear juice?
Yes, you can freeze pear juice for up to three months. Pour the juice into ice cube trays or freezer-safe containers, leaving a little space at the top for expansion. Thaw in the refrigerator before drinking, or use the frozen juice cubes in smoothies for an extra flavor boost.