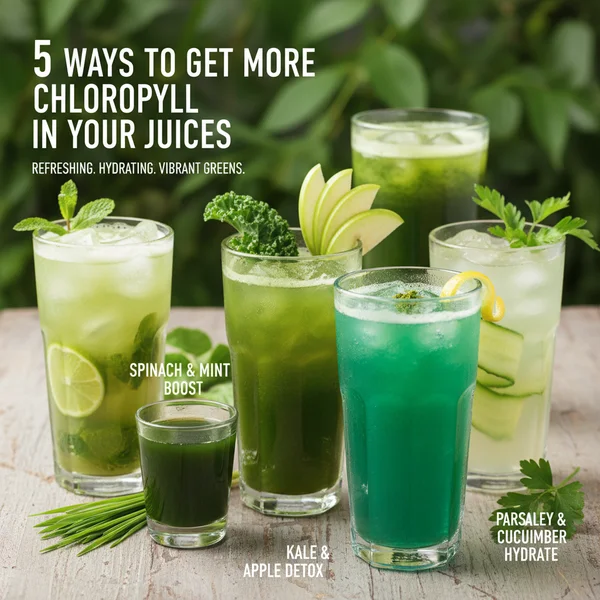
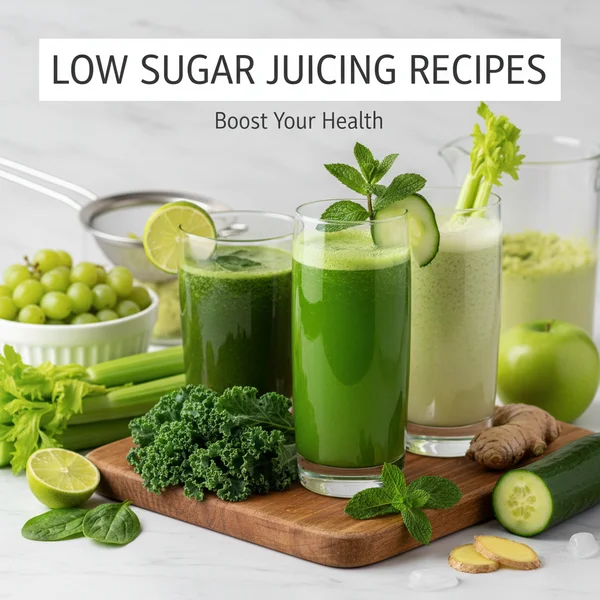
Low Sugar Juicing Recipes: Healthy & Refreshing
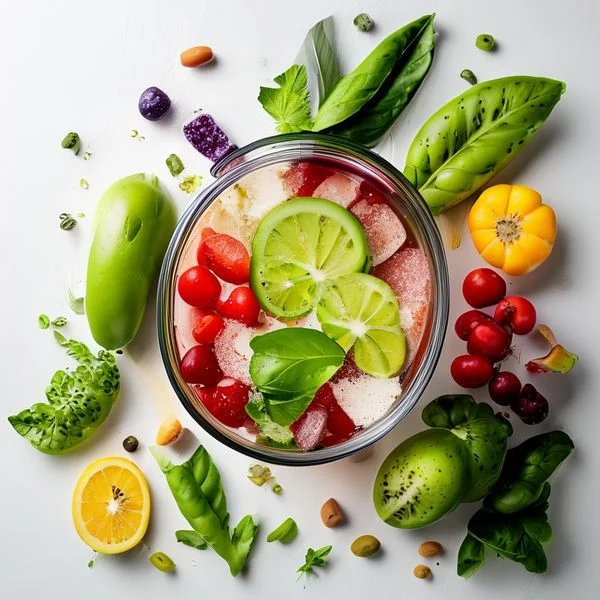
Imagine waking up to a glass of vibrant, emerald-green liquid that sparkles with freshness and vitality. This low sugar juicing recipe is a revelation for anyone who finds typical fruit-heavy juices too cloying or heavy. It offers a sophisticated balance of garden-fresh flavors—think the cool, hydrating crunch of English cucumber paired with the peppery, earthy bite of organic kale and a sharp, citrusy finish. Unlike store-bought options that are often hidden sugar bombs masked as health drinks, this homemade blend prioritizes high-nutrient vegetables while maintaining a light, palate-cleansing sweetness through the use of a single green apple. It is the perfect morning ritual for those seeking a natural energy boost without the dreaded glucose spike or mid-afternoon crash. Whether you are a seasoned juice enthusiast or a curious beginner, this recipe will quickly become your go-to for a clean, revitalizing start to your day.
- ⏱️ Prep Time: 10 minutes
- 🍳 Cook Time: 0 minutes
- 👥 Servings: 2 servings
- 📊 Difficulty: Easy
When searching for the best low sugar juicing recipes, the key is to focus on water-dense vegetables that provide volume without adding a significant caloric load. Cucumbers and celery are the heroes of this specific recipe, providing a mineral-rich base that keeps you hydrated. By keeping the fruit-to-vegetable ratio strictly controlled, you ensure that you are sipping on a concentrated source of vitamins and antioxidants rather than a high-fructose beverage. This recipe is designed to serve two people, making it an excellent option for a couple’s healthy breakfast or for someone looking to have a secondary serving ready for a quick afternoon pick-me-up. Let us dive into the specific ingredients you will need to gather for this refreshing blend.
Ingredients
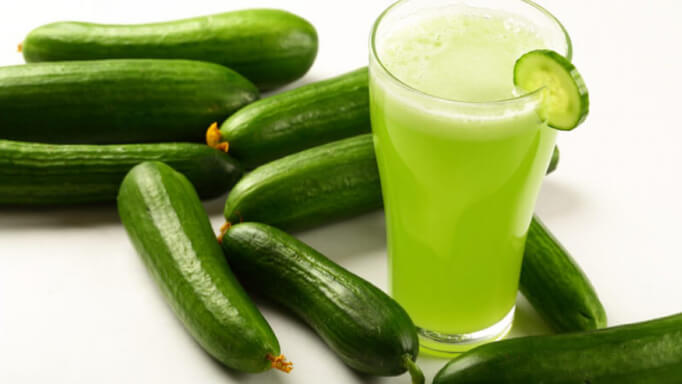
- 2 large cucumbers: Preferably English or hothouse cucumbers, as they have thinner skin and fewer seeds.
- 4 stalks of celery: Ensure they are crisp and vibrant green for the best flavor profile.
- 1 bunch of lacinato kale: Also known as dinosaur kale, which provides a deep green color and mild flavor.
- 1 medium Granny Smith apple: Using a tart green apple provides the necessary hint of sweetness with lower sugar content than red varieties.
- 1-inch knob of fresh ginger root: Peeled or unpeeled depending on your juicer’s strength.
- 1 whole lemon: Peeled, with the white pith intact for extra bioflavonoids.
- 1 small handful of fresh parsley: This adds a bright, herbal note and acts as a natural deodorizer.
- A pinch of sea salt (optional): To help balance the flavors and provide electrolytes.
Step-by-Step Instructions
1. The first step in creating high-quality low sugar juicing recipes is the preparation of your produce. Begin by thoroughly washing all your vegetables and the apple under cold, running water. For kale and parsley, it is often helpful to submerge them in a bowl of water with a splash of apple cider vinegar to ensure every crevice is free of grit or dirt. Once washed, pat the greens dry with a clean kitchen towel. Even though your juicer will separate the pulp, starting with clean, dry ingredients ensures the purest flavor possible in your final glass.
2. Next, prepare your ingredients for the juicer’s feed chute. Slice the cucumbers and celery into lengths that fit easily into your machine. If you are using a centrifugal juicer, you can often leave pieces larger, but for a masticating juicer, smaller pieces help the machine work more efficiently. Cut the Granny Smith apple into quarters and remove the core and seeds. While some people juice the core, removing it can prevent any bitterness from the seeds from altering the delicate taste of your green juice.
3. Prepare the aromatics which give this recipe its “kick.” Peel the lemon, leaving as much of the white pith as possible, as this part contains many of the citrus’s health benefits. Slice the ginger into a small piece roughly the size of your thumb. You do not strictly need to peel the ginger if it is organic and well-scrubbed, but peeling it can result in a slightly smoother flavor profile. Having these concentrated flavors ready will allow you to layer them between the more watery ingredients during the juicing process.
4. Now it is time to start the machine and begin the juicing process. A professional secret for the best results is the order in which you feed the ingredients. Start by feeding a small amount of cucumber into the juicer. This lubricates the auger or blades. Follow this immediately with your leafy greens, such as the kale and parsley. By following the greens with more cucumber or celery, you “flush” the nutrient-dense leafy pulp through the machine, ensuring you extract every possible drop of chlorophyll and vitamins from the leaves.
5. Continue the process by alternating between the harder, fibrous stalks of celery and the softer pieces of lemon and ginger. The fibrous celery helps to push through the softer citrus, preventing the machine from clogging. This alternating technique is a hallmark of successful juicing instructions because it maximizes yield and keeps the machine running smoothly. Ensure you are pushing the produce through slowly; let the juicer do the work rather than forcing the plunger down too quickly, which can lead to heat buildup and oxidation.
6. As the juice begins to fill the container, you will notice a vibrant, layered appearance. Once all the ingredients have passed through the machine, allow the juicer to run for an additional 30 seconds to ensure the very last drops are extracted from the internal basket. If your juicer has a lot of foam on top, you can use a spoon to gently skim it off, though many enthusiasts prefer to keep it for the extra nutrients it contains. At this stage, you can add a tiny pinch of sea salt if you wish, which helps “brighten” the taste of the celery and cucumber.
7. For the ultimate drinking experience, pour the juice through a fine-mesh stainless steel strainer into a glass pitcher. While your juicer does a great job, a second strain removes any lingering bits of pulp, resulting in a silkier, more “commercial-quality” mouthfeel. This is particularly important for low sugar juicing recipes where the texture plays a big role in how satisfying the drink feels. Stir the juice gently with a long spoon to ensure the tart lemon, spicy ginger, and sweet apple are perfectly integrated with the vegetable base.
8. Your fresh green juice is now ready to serve. For the best flavor and highest nutrient density, serve the juice immediately in chilled glasses. If you prefer your juice extra cold, you can pour it over a few cubes of ice. The total prep time for this entire process is roughly 10 minutes, making it an efficient addition to your morning routine. Sit back and enjoy the cooling, revitalizing effects of this low-sugar masterpiece, knowing you have fueled your body with premium, plant-based nutrition.
To get the most out of your low sugar juicing recipes, always use chilled produce directly from the refrigerator. Cold vegetables produce a much more refreshing juice that doesn’t require ice, which can dilute the flavor. Additionally, if you find the kale flavor too strong, try using “baby” kale or spinach for a milder profile. Finally, always clean your juicer immediately after use; the pulp dries quickly and can become very difficult to remove if left to sit!
Variations & Substitutions
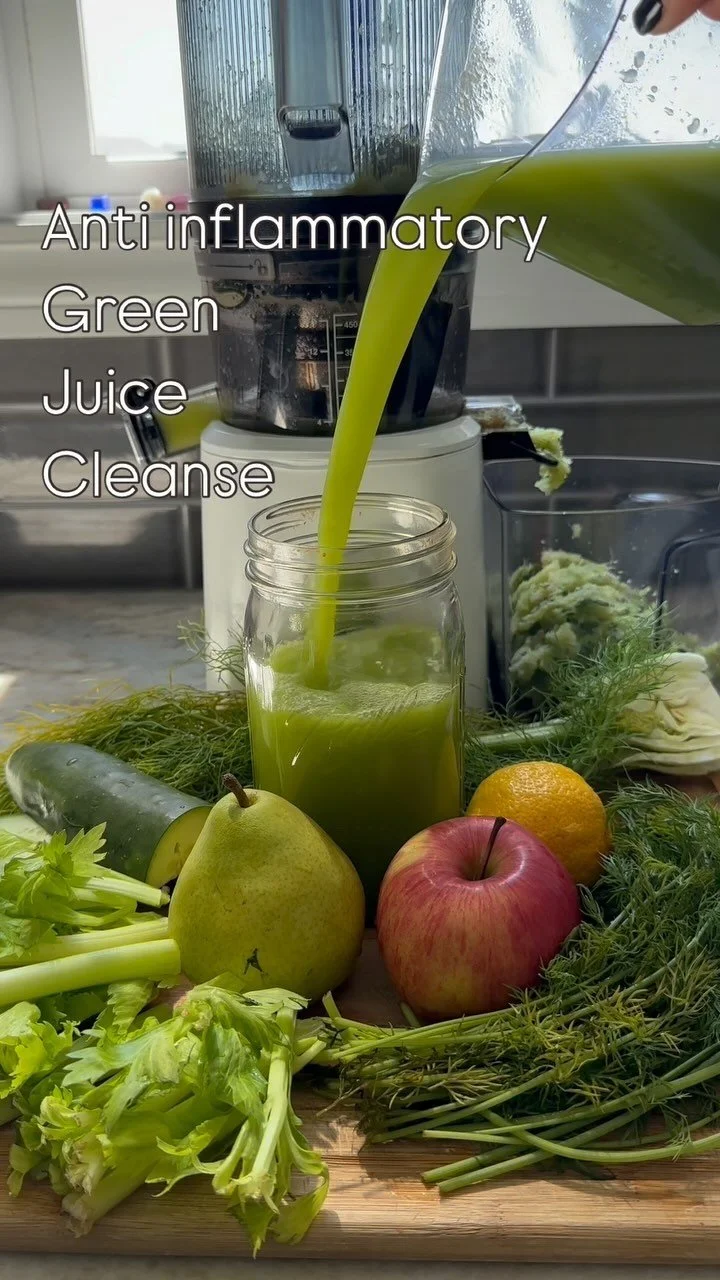
The beauty of this recipe lies in its versatility. If you find kale too bitter, you can easily substitute it with Swiss chard or a large head of Romaine lettuce, both of which are excellent for low sugar juicing. For a different flavor profile, swap the lemon for a lime; this gives the drink a mojito-like freshness that is incredibly cooling in the summer. If you want to boost the anti-inflammatory properties of the juice, try adding a half-inch piece of fresh turmeric root along with the ginger. For those who need even less sugar, you can omit the apple entirely and add an extra cucumber, or use a few drops of liquid stevia if you still require a hint of sweetness without the fruit sugars. This recipe is naturally vegan, gluten-free, and paleo-friendly, making it suitable for almost any dietary requirement.
Storage & Make Ahead
While fresh juice is always best consumed within 15 to 20 minutes of extraction to minimize oxidation, you can store this recipe for later use if necessary. To store, pour the juice into an airtight glass jar or bottle, filling it all the way to the top to leave as little room for air as possible. Adding extra lemon juice can also help preserve the color and nutrients. It will stay fresh in the refrigerator for up to 24 hours. For a make-ahead tip, you can wash and chop all your vegetables the night before and store them in a sealed container so you can simply drop them into the juicer the next morning.
- Calories: 85 kcal
- Total Sugars: 9g
- Vitamin C: 110% DV
- Vitamin K: 250% DV
- Potassium: 420mg
Note: Nutritional values are estimates based on standard produce sizes. Juicing removes fiber, which changes the glycemic load compared to whole fruits.
❓ Frequently Asked Questions
1
How long does fresh juice last in fridge?
Fresh juice is best consumed immediately but can be stored in an airtight glass container for up to 24 to 48 hours. Oxidation begins quickly, so the sooner you drink it, the more nutrients you will receive. Always keep it refrigerated to maintain freshness and safety.
2
Can I make low sugar juice ahead of time?
Yes, you can make it ahead of time, though fresh is always superior. Store your juice in a glass mason jar filled to the brim to minimize oxygen exposure. This helps preserve the vitamins and minerals for up to two days, making it a convenient morning option.
3
What can I substitute for green apple?
If you want to lower the sugar even further, substitute green apple with extra cucumber or a squeeze of lemon or lime. These provide a refreshing tang without the fructose. You could also try adding a few drops of liquid stevia if you need a bit more sweetness.
4
How do I know when juicing is done?
The juicing process is finished once the pulp coming out of the machine is relatively dry and no more liquid is dripping from the spout. Different juicers handle produce differently, so ensure all your ingredients have passed through the auger or blades before turning the machine off.
5
Can I freeze fresh green juice?
You can freeze fresh juice in airtight containers or ice cube trays for up to three months. While some nutrient loss occurs during freezing and thawing, it remains a healthy option. Leave some space at the top of the container for expansion as the liquid freezes solid.