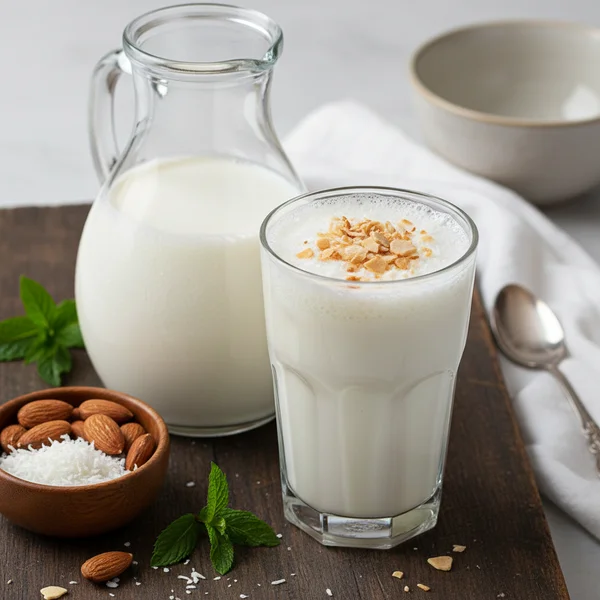
Almond and Coconut Milk Recipe: Creamy & Homemade
Imagine a beverage so velvety and rich that it transforms your morning coffee into a gourmet latte experience and turns your simple bowl of oatmeal into a decadent treat. This homemade almond and coconut milk blend is exactly that—a luxurious, plant-based elixir that offers a depth of flavor far superior to anything you can find in a cardboard carton at the grocery store. The natural, subtle sweetness of shredded coconut marries perfectly with the earthy, nutty undertones of raw almonds, creating a balanced profile that is both refreshing and satisfying. Whether you are a dedicated vegan, someone managing a dairy sensitivity, or simply a food lover looking to elevate your pantry staples, this recipe will quickly become a favorite in your household. It is creamy, frothable, and incredibly clean, free from the thickeners and preservatives often found in commercial versions.
- ⏱️ Prep Time: 15 minutes
- 🍳 Cook Time: 0 minutes
- 👥 Servings: 4 servings
- 📊 Difficulty: Easy
Ingredients
To achieve the perfect consistency and flavor, the quality of your ingredients is paramount. This recipe yields approximately four standard servings, providing a nutrient-dense alternative to traditional dairy.
- Raw Almonds: 1 cup of whole, unsalted, and unroasted almonds. It is essential to use raw almonds to ensure a clean, milky flavor and to maximize the nutritional profile.
- Unsweetened Shredded Coconut: 1/2 cup of high-quality shredded coconut or coconut flakes. Ensure there are no added sugars or sulfites to keep the recipe as natural as possible.
- Filtered Water: 4 cups of fresh, cold filtered water for the blending process, plus additional water for the initial soaking phase.
- Medjool Dates (Optional): 2 pitted dates if you prefer a hint of natural sweetness. These provide a caramel-like depth without the need for refined sugars.
- Vanilla Bean or Extract (Optional): 1/2 teaspoon of pure vanilla extract or the seeds from half a vanilla bean for an aromatic finish.
- Sea Salt: A small pinch of fine sea salt to enhance the natural flavors of the nuts and coconut.
Step-by-Step Instructions
The process of making your own almond and coconut milk is a rewarding kitchen ritual that requires very little active effort but yields professional-grade results. Follow these detailed instructions to ensure your milk is smooth, creamy, and delicious every single time.

Step 1: The Essential Soak. Begin by placing your raw almonds in a large glass bowl. Cover them with at least two inches of water. This soaking process is crucial as it softens the nuts, making them easier to blend into a smooth liquid. More importantly, soaking helps to neutralize phytic acid, making the nutrients in the almonds easier for your body to absorb. Let the almonds sit for at least 8 hours, or ideally overnight. If you are in a rush, you can soak them in very hot water for 2 hours, though the overnight method provides the creamiest results.
Step 2: Prepare the Coconut. While your almonds are finishing their soak, take your shredded coconut and place it in a separate small bowl. Pour about half a cup of warm (not boiling) water over the coconut and let it sit for about 10 minutes. This rehydrates the coconut fibers and helps release the natural oils and fats, which contributes significantly to the creamy texture of the final almond and coconut milk.
Step 3: Rinse and Drain. Once the soaking time is complete, drain the almonds and discard the soaking water. You will notice that the almonds have plumped up significantly. Give them a thorough rinse under cold running water until the water runs clear. This removes any residual enzymes or debris from the skins, ensuring the cleanest flavor for your recipe.
Step 4: Combining the Ingredients. Place the soaked almonds and the rehydrated coconut (including its soaking liquid) into the carafe of a high-speed blender. Add the 4 cups of fresh filtered water. If you are choosing to add sweeteners like Medjool dates or vanilla extract, add them at this stage. Toss in the pinch of sea salt as well; the salt acts as a flavor bridge, connecting the richness of the coconut with the nuttiness of the almond.
Step 5: The Blending Process. Secure the lid on your blender tightly. Start the blender on its lowest speed setting and gradually increase to the highest speed. Blend on high for approximately 60 to 90 seconds. You are looking for the mixture to become completely opaque, white, and frothy. There should be no large visible chunks of nuts or coconut remaining; the mixture should look like a thick, creamy slurry.
Step 6: Straining for Smoothness. This is the most important step for achieving a professional “milk” mouthfeel. Place a nut milk bag or a large piece of double-layered cheesecloth over a large pitcher or bowl. Carefully pour the blended mixture into the bag. If you do not have a nut milk bag, a very fine-mesh sieve can work, though it won’t produce a milk quite as silky.
Step 7: The Squeeze. Using clean hands, gather the top of the nut milk bag and gently squeeze the liquid through the mesh into the pitcher. Be patient and continue to apply firm but steady pressure. You want to extract as much liquid as possible until the pulp inside the bag feels dry and crumbly. This pulp is essentially “almond meal” and can be saved for other recipes like crackers or muffins!
Step 8: Final Emulsification. Once you have strained all the liquid, give the milk a quick whisk or a final 5-second pulse in a clean blender. This ensures that the natural fats from the coconut are perfectly emulsified with the almond water, preventing immediate separation. Your fresh almond and coconut milk is now ready to be bottled and enjoyed.
For an even richer “creamer” style milk, reduce the filtered water to 3 cups instead of 4. This increases the fat-to-water ratio, making it perfect for frothing in lattes. Additionally, if you find the almond skins bothersome, you can use “blanched” almonds, though the soaking method described above usually makes the skins unnoticeable after straining. Always remember to shake the bottle before use, as natural milk without additives will naturally separate in the fridge.

Variations & Substitutions
The beauty of this almond and coconut milk recipe lies in its versatility. If you prefer a Keto-friendly version, simply omit the dates and use a few drops of liquid monk fruit or stevia for sweetness. For a chocolate treat that kids will love, blend in 2 tablespoons of raw cacao powder and an extra date during the blending phase. If you are looking for an anti-inflammatory boost, add half a teaspoon of ground turmeric and a pinch of black pepper to create a “Golden Milk” base. If you have a nut allergy in the house, you can substitute the almonds with sunflower seeds or hemp hearts using the exact same ratios, though the flavor profile will shift toward a more earthy, seed-like taste.
Storage & Make Ahead
Because this recipe contains no preservatives, it is best enjoyed fresh. Store your almond and coconut milk in a sealed glass jar or airtight bottle in the coldest part of your refrigerator. It will stay fresh and delicious for 3 to 5 days. If you find you cannot finish it all within that timeframe, you can freeze the milk in ice cube trays. These frozen cubes are perfect for dropping into smoothies or iced coffee drinks later on. If you are planning for a busy week, you can soak the almonds up to 2 days in advance; just keep them in the refrigerator in their soaking water until you are ready to blend.
- Calories: 145 kcal
- Total Fat: 12g
- Carbohydrates: 6g
- Fiber: 3g
- Protein: 4g
- Sugar: 2g (from dates)
Note: Nutritional values are estimates based on standard ingredient measurements and may vary depending on how much pulp is extracted during the straining process.
❓ Frequently Asked Questions
1
How long does almond and coconut milk last in fridge?
Homemade almond and coconut milk typically lasts between three to five days when stored in a clean, airtight glass bottle in the coldest part of your refrigerator. Since it lacks preservatives, it may separate naturally; simply give the container a vigorous shake before each use to recombine.
2
Can I make almond and coconut milk ahead of time?
Yes, you can easily prepare this milk blend ahead of time. In fact, making it a day early allows the flavors to meld beautifully. Just be sure to keep it refrigerated and consume it within five days to ensure you are enjoying the best quality and flavor.
3
What can I substitute for Medjool dates?
If you do not have Medjool dates on hand, you can substitute them with one tablespoon of maple syrup, honey, or agave nectar to achieve a similar sweetness. For a sugar-free version, simply omit the sweetener entirely or use a few drops of liquid stevia to taste.
4
How do I know when the milk is done?
The milk is ready once the liquid looks completely smooth, opaque, and creamy after blending for about sixty to ninety seconds. After straining through a nut milk bag, the resulting liquid should be free of any gritty particles, offering a silky mouthfeel that is perfect for drinking.
5
Can I freeze almond and coconut milk?
You can freeze this milk blend for up to three months. It is best to freeze it in ice cube trays for easy portioning in smoothies. Note that the texture may change slightly upon thawing, so it is better for cooking or blending than for drinking straight.