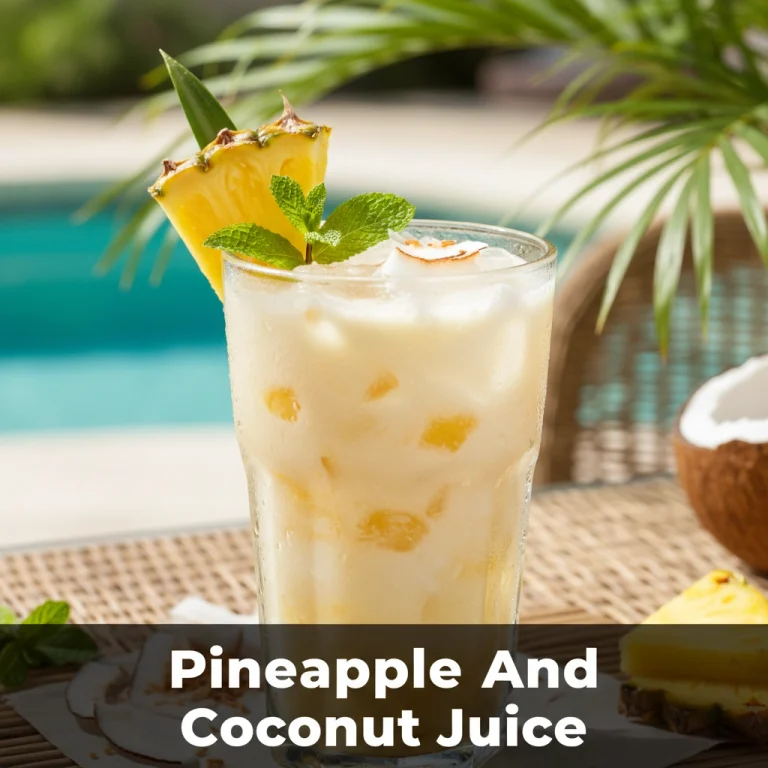
Pina Colada with Orange Juice: Refreshing & Easy
Imagine yourself reclining on a sun-drenched beach, where the rhythmic sound of turquoise waves hitting the shore provides the perfect soundtrack to your relaxation. That refreshing, tropical feeling is exactly what this pina colada with orange juice brings directly into your home. While the classic duo of pineapple and coconut is a legendary staple of island life, the addition of zesty orange juice introduces a bright, citrusy elevation that balances the rich creaminess of the coconut. This beverage is more than just a drink; it is a hydrating vacation in a glass that will delight your palate and cool your spirit. Whether you are hosting a summer gathering or simply treating yourself to a midday escape, this frozen delight is guaranteed to be a hit with everyone who takes a sip.
- ⏱️ Prep Time: 5 minutes
- 🍳 Cook Time: 0 minutes
- 👥 Servings: 2 servings
- 📊 Difficulty: Easy
Ingredients for the Perfect Tropical Blend
To create this masterpiece, you will need a few high-quality ingredients that combine to create a symphony of tropical flavors. Ensure your liquid ingredients are chilled before you begin for the best results.
- 1 cup frozen pineapple chunks (unsweetened)
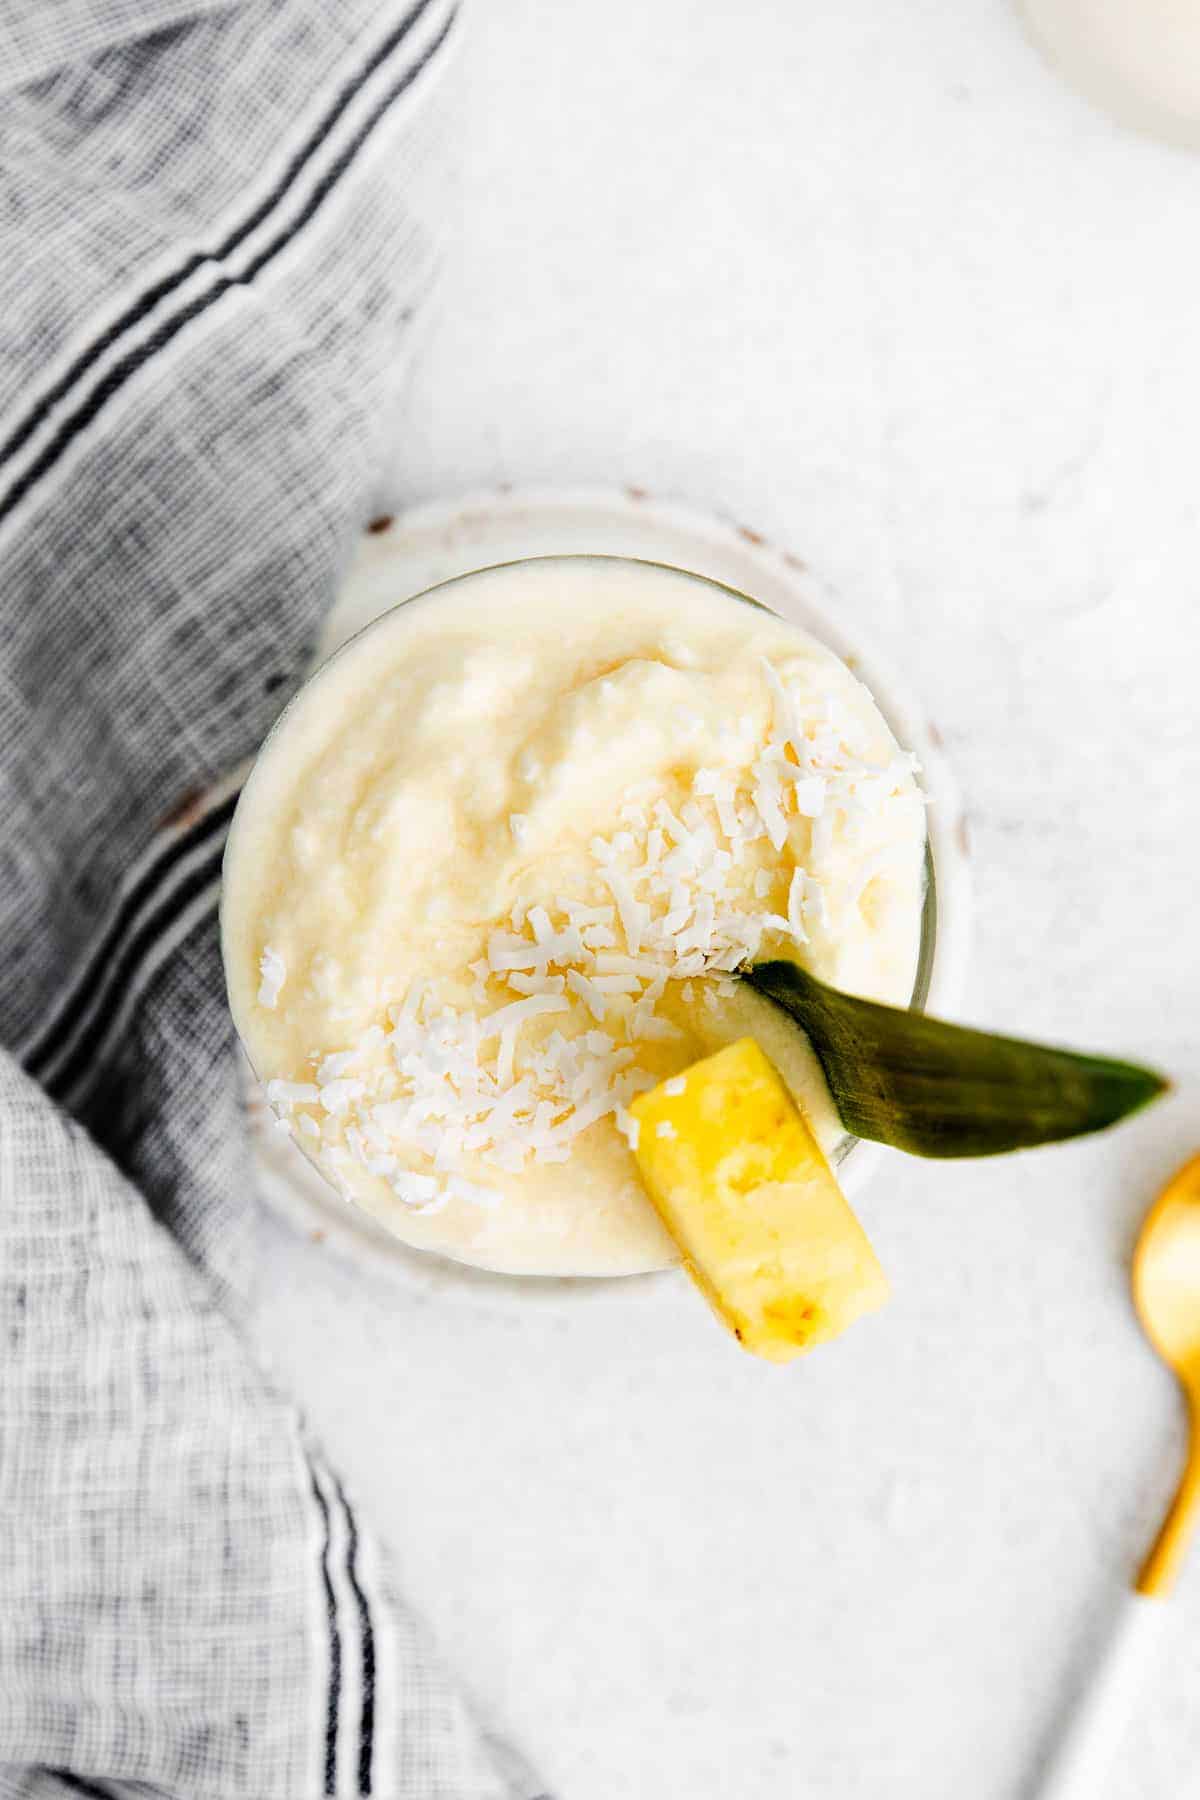
- 1/2 cup cream of coconut (ensure it is the thick, sweetened version)
- 1/2 cup chilled pineapple juice
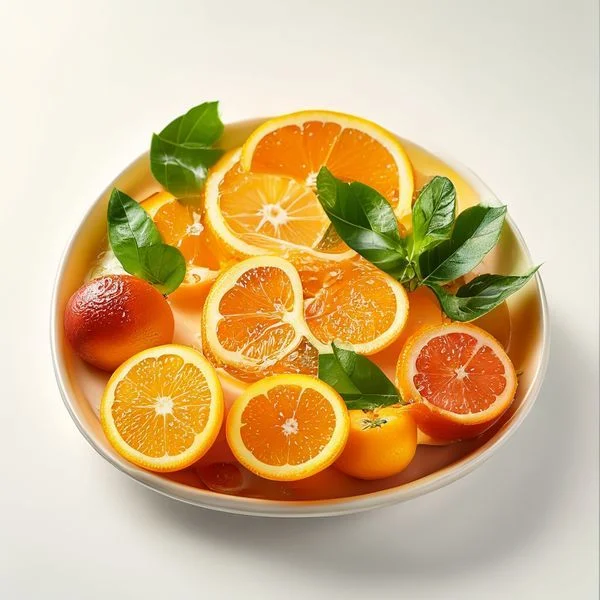
- 1/2 cup fresh-squeezed orange juice
- 2 ounces white rum (optional for a cocktail version)
- 2 cups filtered ice cubes
- Fresh orange wheels and maraschino cherries for garnish
Step-by-Step Instructions
1. The first step in creating a world-class pina colada with orange juice is to prepare your serving vessels. Take two tall hurricane glasses or large tumblers and place them in the freezer for at least ten minutes. A chilled glass is essential because it prevents the frozen mixture from melting immediately upon contact, allowing you to enjoy that thick, slushy texture for a much longer period. This simple preparation step makes a significant difference in the final drinking experience.
2. Set up your high-speed blender on a flat, stable surface. The power of your blender is the secret to achieving a professional-grade consistency. You want a machine capable of crushing ice into a smooth, snowy texture rather than leaving behind large, watery chunks. Check the blades to ensure they are sharp and ready to handle the frozen pineapple and ice cubes effectively.
3. Begin adding your liquid base to the blender jar. Pour in the chilled pineapple juice and the fresh orange juice. By using fresh-squeezed orange juice, you introduce a natural acidity and brightness that bottled versions often lack. This citrus element is the key to making this version of the drink so unique, as it acts as a hydrating counterpoint to the heavier ingredients that follow.
4. Carefully measure and add the cream of coconut. It is important to note that cream of coconut is much thicker and sweeter than standard coconut milk. It provides the signature velvety mouthfeel that defines a great colada. If your cream of coconut has separated in the can, give it a quick stir before measuring to ensure a consistent distribution of fats and sugars. If you are opting for an alcoholic version, pour in your white rum at this stage as well.
5. Introduce the frozen elements to the blender. Add one cup of frozen pineapple chunks. Using frozen fruit instead of room-temperature fruit is a pro tip that allows you to use less ice. This prevents the drink from becoming watered down and ensures that the tropical fruit flavor remains intense and concentrated from the first sip to the last.
6. Add approximately two cups of ice cubes to the blender. The specific amount of ice might vary depending on how thick you prefer your beverage. Start with two cups; you can always add more later if you desire a firmer, more spoonable consistency. Filtered ice is recommended to ensure that no off-flavors from tap water interfere with the delicate fruit profiles.
7. Secure the lid tightly and start the blender on the lowest speed setting. Allow the blades to slowly catch the frozen fruit and ice, breaking them down into smaller fragments. After about fifteen seconds, gradually increase the speed to high. You are looking for a smooth vortex to form in the center of the liquid, which indicates that the ingredients are fully emulsified and the ice has reached a perfectly smooth state.
8. Once the mixture looks uniform, stop the blender and check the consistency with a spoon. If the drink is too runny, add an extra handful of ice and blend for another twenty seconds. If it appears too thick to pour comfortably, add an additional tablespoon of orange juice to help the mixture move. This stage is all about personal preference, so feel free to adjust until it reaches your ideal frozen state.
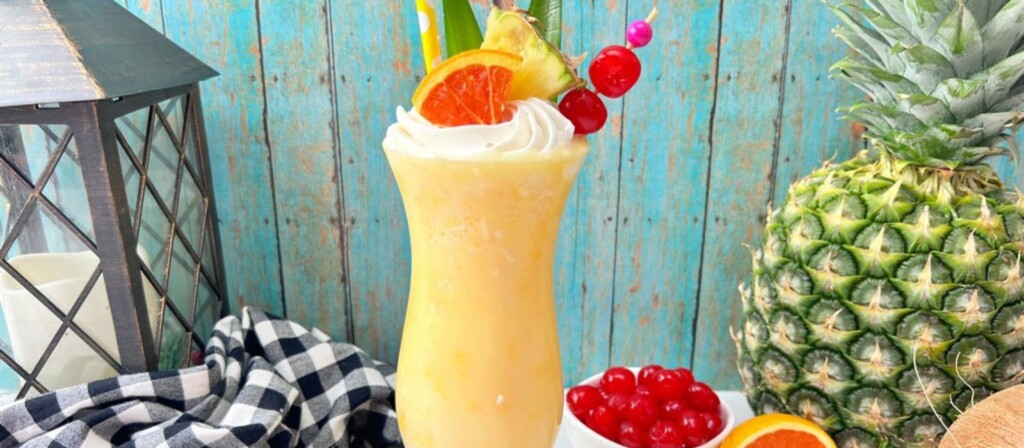
9. Remove your chilled glasses from the freezer. Pour the pina colada with orange juice slowly into each glass. The mixture should be thick enough to mound slightly at the top, creating a beautiful, frosty peak. The vibrant, pale yellow color of the drink is visually stunning and hints at the citrus-infused flavors waiting inside.
10. The final step is all about the garnish. Slide a fresh orange wheel onto the rim of each glass and place a maraschino cherry on top of the frozen mound. You can also add a small cocktail umbrella or a sprig of fresh mint for an extra touch of flair. Serving with a wide-mouthed straw is highly recommended to accommodate the thick, refreshing texture of the blend.
For an even creamier result, try using frozen coconut milk ice cubes instead of regular water ice cubes. This prevents any dilution of flavor as the drink eventually melts. Additionally, if you find the drink too sweet, a tiny pinch of sea salt added during the blending process can help enhance the tropical fruit notes and balance the sugar from the cream of coconut.
Variations & Substitutions
This recipe is incredibly versatile and can be adapted to suit various dietary needs and flavor preferences. If you are looking for a vegan option, most brands of cream of coconut are naturally plant-based, but always double-check the label. For a lighter, lower-calorie version, you can substitute half of the cream of coconut with unsweetened coconut milk, though this will result in a less creamy texture. If you want to lean further into the citrus theme, try adding a squeeze of fresh lime juice along with the orange juice for an extra zesty kick. For a different fruit profile, you can swap the frozen pineapple for frozen mango or even frozen peaches, both of which pair beautifully with the orange and coconut base. If you prefer a non-blended version, you can shake the liquid ingredients with ice and serve them over fresh ice cubes for a “on the rocks” style beverage.
Storage & Make Ahead Instructions
While this pina colada with orange juice is best enjoyed immediately after it leaves the blender, you can make preparations in advance. You can blend the mixture and pour it into airtight containers or even popsicle molds to freeze for later. If you have leftovers, store them in the freezer; however, the mixture will freeze solid. When you are ready to enjoy it again, simply place the frozen block back into the blender with a small splash of fresh juice and pulse until it regains its slushy consistency. Do not store the blended drink in the refrigerator for more than thirty minutes, as it will separate and lose its delightful frozen structure.
Calories: 310 kcal
Total Fat: 14g
Carbohydrates: 42g
Sugars: 34g
Vitamin C: 45% DV
Note: Nutritional values are estimates based on standard ingredients and do not include optional rum.
❓ Frequently Asked Questions
1
How long does Pina Colada with orange juice last in fridge?
This drink is best served immediately after blending to maintain its frosty, slushy consistency. If stored in the fridge, the ice will melt and the ingredients may separate within 30 minutes. If you have leftovers, freeze them and re-blend later, but the texture will change significantly over time.
2
Can I make Pina Colada with orange juice ahead of time?
You can mix the liquid ingredients—rum, coconut cream, and juices—up to 24 hours in advance and store them in the refrigerator. However, do not add the ice or use the blender until you are ready to serve, as the refreshing frozen texture is essential for the best experience.
3
What can I substitute for cream of coconut?
If you cannot find cream of coconut, you can use full-fat canned coconut milk mixed with a bit of simple syrup or honey. Note that it won’t be as thick or sweet as the traditional version, so you might need to adjust the amount of orange juice used.
4
How do I know when the drink is done?
The beverage is ready when the mixture in the blender looks smooth, creamy, and consistent in color. There should be no large chunks of ice remaining. It should have a thick, pourable consistency that holds its shape slightly in the glass before settling into a refreshing, hydrating liquid state.
5
Can I freeze Pina Colada with orange juice?
Yes, you can freeze the blended mixture in airtight containers or popsicle molds. While it won’t have the same light, airy texture as a freshly blended drink, it makes for a delicious hydrating frozen treat. Thaw slightly for 10 minutes before eating or re-blend for a slushy finish.