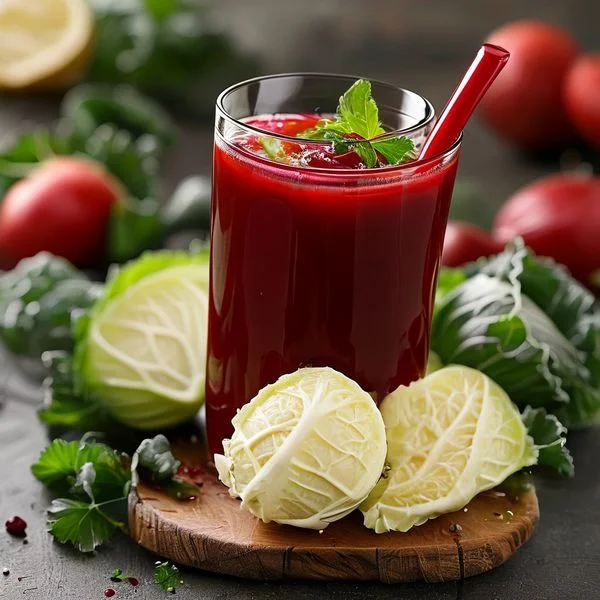
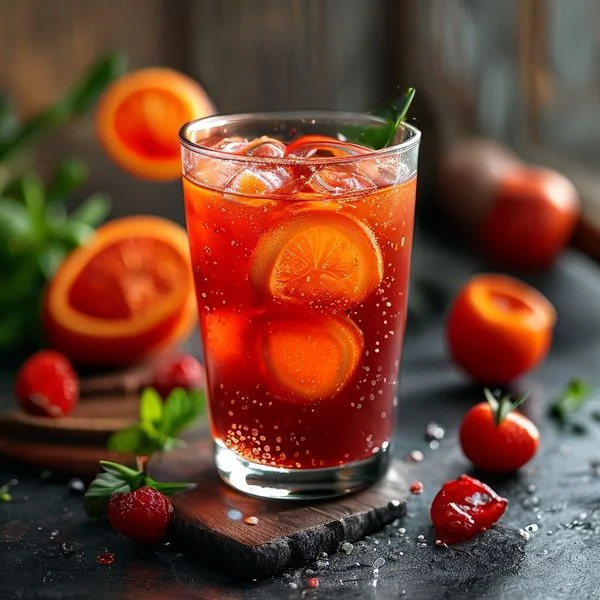
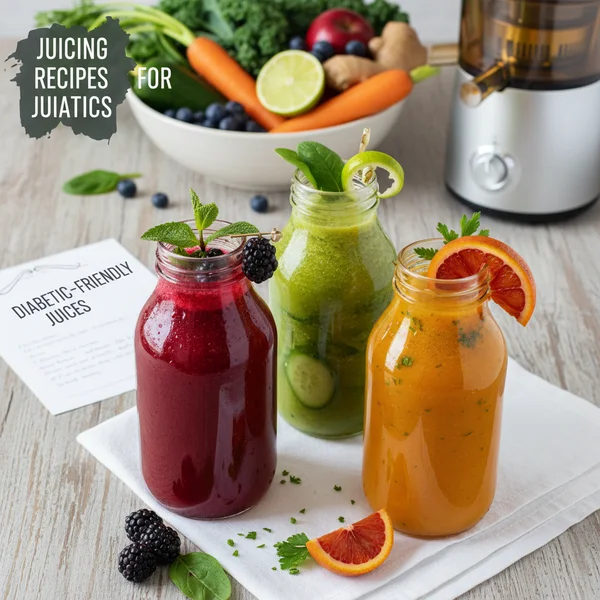
Juicing Recipes for Diabetics: Healthy & Refreshing
Imagine a drink that captures the crisp essence of a dew-covered morning garden, delivering a burst of vitality in every sip. This vibrant green elixir offers a symphony of refreshing flavors, balancing the earthy depth of leafy kale with the sharp, citrusy zing of fresh lemon and a subtle, warming heat from spicy ginger. Unlike traditional fruit juices that can send your blood sugar on a roller coaster ride, this carefully crafted blend is designed specifically for those seeking juicing recipes for diabetics. It provides a hydrating, nutrient-dense experience that feels indulgent yet remains entirely responsible. You will love how it wakes up your palate, providing a clean, crisp finish that leaves you feeling revitalized and focused without the heavy sugar crash associated with store-bought alternatives.
- ⏱️ Prep Time: 10 minutes
- 🍳 Cook Time: 0 minutes
- 👥 Servings: 2 servings
- 📊 Difficulty: Easy
Ingredients for the Ultimate Green Diabetic Juice
To ensure this recipe remains low-glycemic while maximizing flavor, we have selected ingredients that are high in water content, fiber-friendly, and packed with essential micronutrients. This selection of ingredients creates a balanced profile that highlights the best of what nature offers to those monitoring their glucose levels.
- 2 Large English Cucumbers: These are the base of your juice, providing incredible hydration and a mild, cooling flavor that bridges all other ingredients together.
- 4 Stalks of Crisp Celery: Celery adds a subtle salty undertone and is known for being extremely low in calories while providing a wealth of antioxidants.
- 1 Small Green Apple (Granny Smith): By using a green apple rather than a red one, you benefit from a lower sugar content and a tart acidity that cuts through the earthiness of the greens.
- 2 Cups of Fresh Tuscan Kale: Remove the tough stems to focus on the tender leaves, which provide a deep emerald color and a boost of Vitamin K and Vitamin C.
- 1-Inch Knob of Fresh Ginger Root: Peeled ginger adds a spicy kick and supports digestion, which is excellent for overall metabolic health.
- 1 Whole Lemon: Peeled but leaving the white pith, the lemon acts as a natural preservative for the juice and provides a bright, refreshing finish.
- A Pinch of Himalayan Sea Salt: This is the secret ingredient that enhances the sweetness of the apple and the savoriness of the vegetables without adding processed sugar.
Step-by-Step Instructions
1. The first and most important step in preparing juicing recipes for diabetics is the thorough cleaning of your produce. Because we are using the entire vegetable and fruit (minus some peels), you want to ensure any residual soil or wax is removed. Rinse your kale, celery, and cucumbers under cold running water. For the green apple, you can use a diluted vinegar wash to ensure the skin is perfectly clean, as the skin contains most of the beneficial nutrients we want to extract during the juicing process.
2. Once your produce is cleaned, it is time for the preparation phase. Cut your English cucumbers into long spears that will easily fit down the chute of your juicer. You do not need to peel them, as the skin contains silica and antioxidants. Similarly, chop the celery stalks into manageable lengths. For the green apple, core it to remove the seeds, then slice it into eighths. While some juicers can handle whole apples, slicing them allows for a more even extraction and prevents the motor from straining. Use a vegetable peeler or the edge of a spoon to remove the skin from the ginger root.
3. Begin the extraction process by starting with your leafy greens. Because kale has a lower water content, it can sometimes get stuck in the juicer. A professional pro tip is to “sandwich” your kale between pieces of cucumber or celery. Roll the kale leaves into a tight cigar shape and feed them into the juicer followed immediately by a watery cucumber spear. This helps push the dense leafy fibers through the machine, ensuring you get every possible drop of that nutrient-rich green liquid.
4. Next, feed the ginger root and the lemon through the machine. By adding these aromatic ingredients in the middle of the process, you allow the subsequent vegetables to “wash” the strong flavors through the internal mechanisms of the juicer. This ensures that the spicy ginger and tart lemon are fully integrated into the base liquid rather than clinging to the internal blades or mesh screen. You will immediately notice the aroma in your kitchen changing to something bright and energizing.
5. Continue by juicing the celery and the remaining green apple slices. The celery provides a consistent flow of liquid that helps clear the juicer’s mesh of any remaining kale pulp. As the green apple is processed, you will see a lighter, frothy juice mixing with the darker greens, creating a beautiful marbled effect in your collection pitcher. The natural acidity of the apple and lemon will help prevent the green juice from oxidizing or turning brown too quickly.
6. Once all the ingredients have passed through the juicer, give the collection pitcher a gentle stir with a long-handled spoon. This ensures the flavors are perfectly homogenized. If you prefer a very thin, commercial-style juice, you may choose to pour the liquid through a fine-mesh nut milk bag or a strainer to remove any remaining “floaties” or excess foam. However, for those looking to keep a tiny bit of extra fiber, serving it as-is from the pitcher is perfectly fine.
7. For the final touch, add a tiny pinch of Himalayan sea salt to the pitcher and stir. Pour the juice into two chilled glasses. If you are not serving immediately, you can add a few ice cubes made from filtered water to keep the temperature low, which preserves the delicate enzymes in the juice. Total prep time should take you no more than ten minutes once you get into a rhythm, making this an ideal morning routine.
To get the most out of your ingredients, always use cold produce straight from the refrigerator. Cold vegetables produce a more refreshing juice and help slow down the oxidation process. If you find the juice too tart, add half a cucumber more rather than more fruit. This increases the volume and dilutes the sharpness without adding extra sugar. Always clean your juicer immediately after use; the vegetable fibers can become very difficult to remove once they dry on the mesh screen.
Variations & Substitutions
While this recipe is a gold standard for juicing recipes for diabetics, you can easily modify it based on seasonal availability or personal preference. If you find kale too bitter, substitute it with fresh baby spinach or Swiss chard; both offer a milder flavor profile while keeping the carb count low. For those who enjoy a bit more heat, you can double the amount of ginger or even add a tiny sliver of fresh turmeric for its anti-inflammatory properties. If you want to transform this into a more filling snack, stir in a teaspoon of chia seeds after juicing. The seeds will swell slightly, adding a unique texture and providing healthy fats and fiber that further help stabilize blood sugar levels. You can also swap the green apple for a handful of fresh raspberries or strawberries, as berries are among the lowest-sugar fruits available and pair wonderfully with leafy greens.
Storage & Make Ahead
Fresh juice is always best consumed immediately to take full advantage of the live enzymes and vitamins. However, if you are short on time, you can make this recipe up to 24 hours in advance. To store, pour the juice into an airtight glass mason jar, filling it all the way to the very top to minimize the amount of oxygen trapped inside. Oxygen is the enemy of fresh juice and causes it to lose nutritional value and flavor. Store the jar in the back of the refrigerator where it is coldest. Before drinking, give the jar a vigorous shake as natural separation will occur. We do not recommend freezing this juice, as the thawing process significantly alters the crisp texture and vibrant flavor that makes this recipe so special.
- Calories: 85 kcal
- Total Carbohydrates: 18g
- Dietary Fiber: 4g (if not strained)
- Sugars: 9g (natural)
- Protein: 3g
- Vitamin K: 240% DV
- Vitamin C: 85% DV
*Nutritional values are estimates based on standard produce sizes. Always consult with a healthcare provider regarding your specific dietary needs as a diabetic.
❓ Frequently Asked Questions
1
How long does diabetic-friendly juice last in fridge?
Freshly made juice is best consumed immediately, but it can be stored in an airtight glass container for up to 24 hours. Keep it in the coldest part of your refrigerator to preserve nutrients. If the juice separates, simply give it a gentle shake before drinking.
2
Can I make these juicing recipes ahead of time?
While fresh is always best, you can prep your vegetables the night before to save time. Wash and chop your ingredients, then store them in a sealed bag. Juice them in the morning for a quick, nutrient-packed start to your day without sacrificing any vital enzymes.
3
What can I substitute for green apples?
If you want to reduce sugar further, substitute green apples with cucumber or celery for volume. For a similar tart flavor with fewer carbs, try adding extra lemon or lime juice. Berries like raspberries or strawberries are also great low-glycemic alternatives that add a touch of sweetness.
4
How do I know when the juice is properly balanced?
A well-balanced diabetic juice should taste refreshing rather than sugary. The rule of thumb is an 80/20 ratio: 80% green vegetables and 20% low-sugar fruits. If it tastes overly sweet, add more cucumber or water to dilute the natural sugars and keep your glucose steady.
5
Can I freeze these vegetable juices?
Yes, you can freeze juice in airtight containers or ice cube trays for up to three months. Leave some space at the top for expansion. Thaw in the refrigerator before consuming. While some nutrients are lost during freezing, it remains a healthy alternative to store-bought options.